What is Tracer?
Tracer is a Compliance Portal where Data Collection Forms, supporting documentation/evidence, and other files may be securely provided to ecfirst. The Tracer Compliance Portal is also where you may securely download reports and other documents from ecfirst.
Devices Supported
The Tracer Compliance Portal uses a responsive design that changes the display depending on the screen size of the device used to access it. It does require the use of a modern web browser.
On a large screen, such as a laptop or desktop device, the display will show:
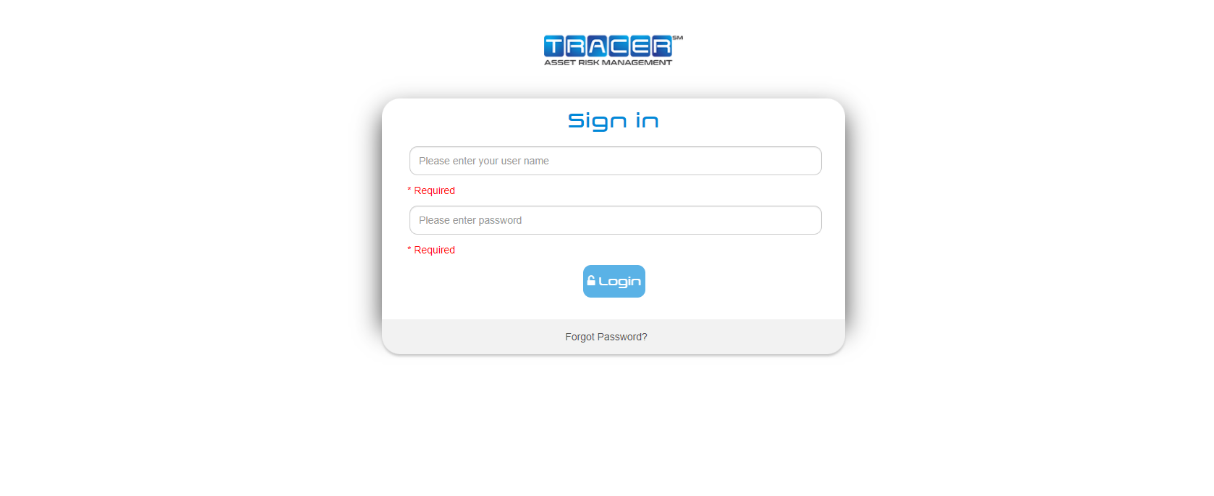
User Access
Sign into the Tracer Compliance Portal by entering your user name and password. Your user name is your email address. Once your account is created, ecfirst will deliver your password to you. You are required to change your password the first time you log-in to Tracer.
Forgotten/Lost Password
If you forget your password, you may reset it at any time using the Forgot Password option as such as the link displayed at the bottom of the log-in screen. Enter the email address associated with your account on the Recover Password screen.
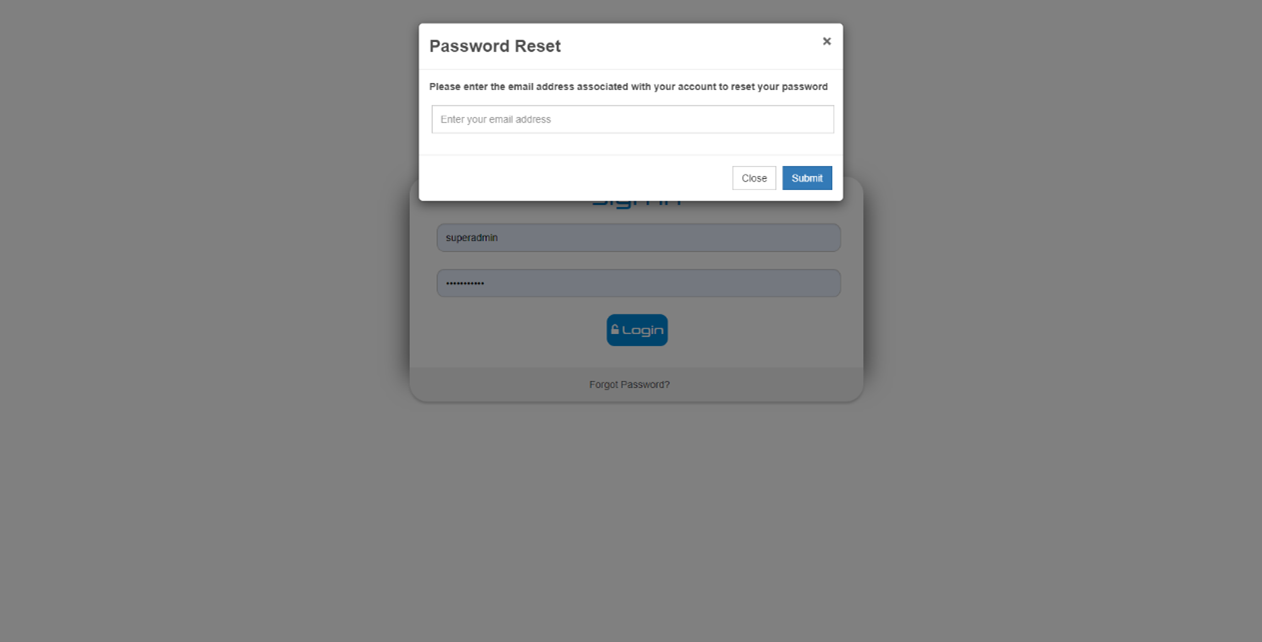
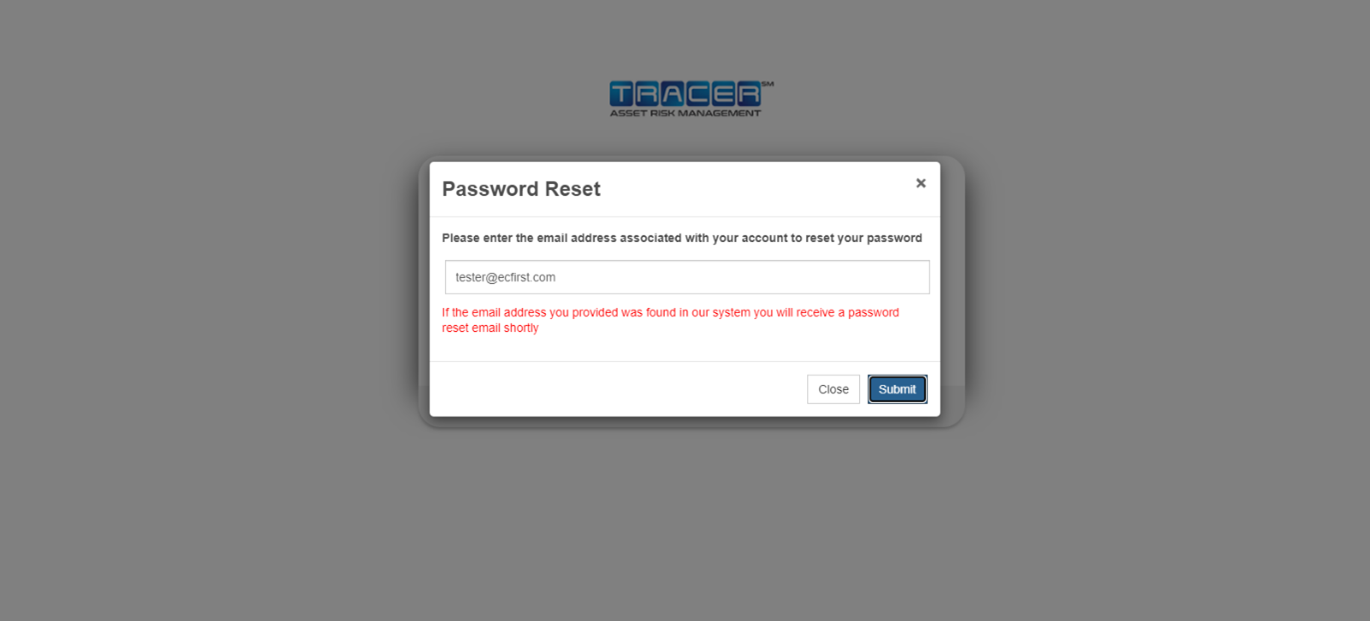
Once you submit your email address in the Recover Password prompt, a reset password email will be sent to that email address if it is associated with a Tracer account.
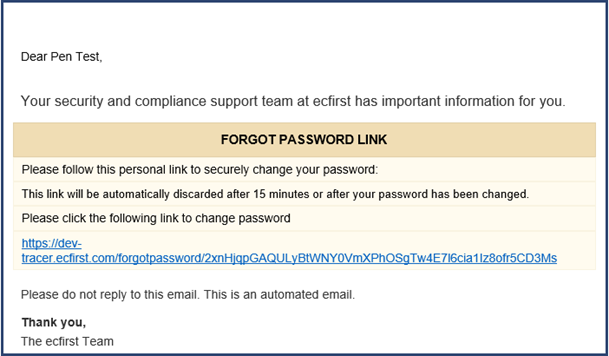
The email contains a link that is valid for 15 minutes or until you change your password. When you click on the link, it will open a page allowing you to change your password.
If you still have problems accessing your account, please contact ecfirst.
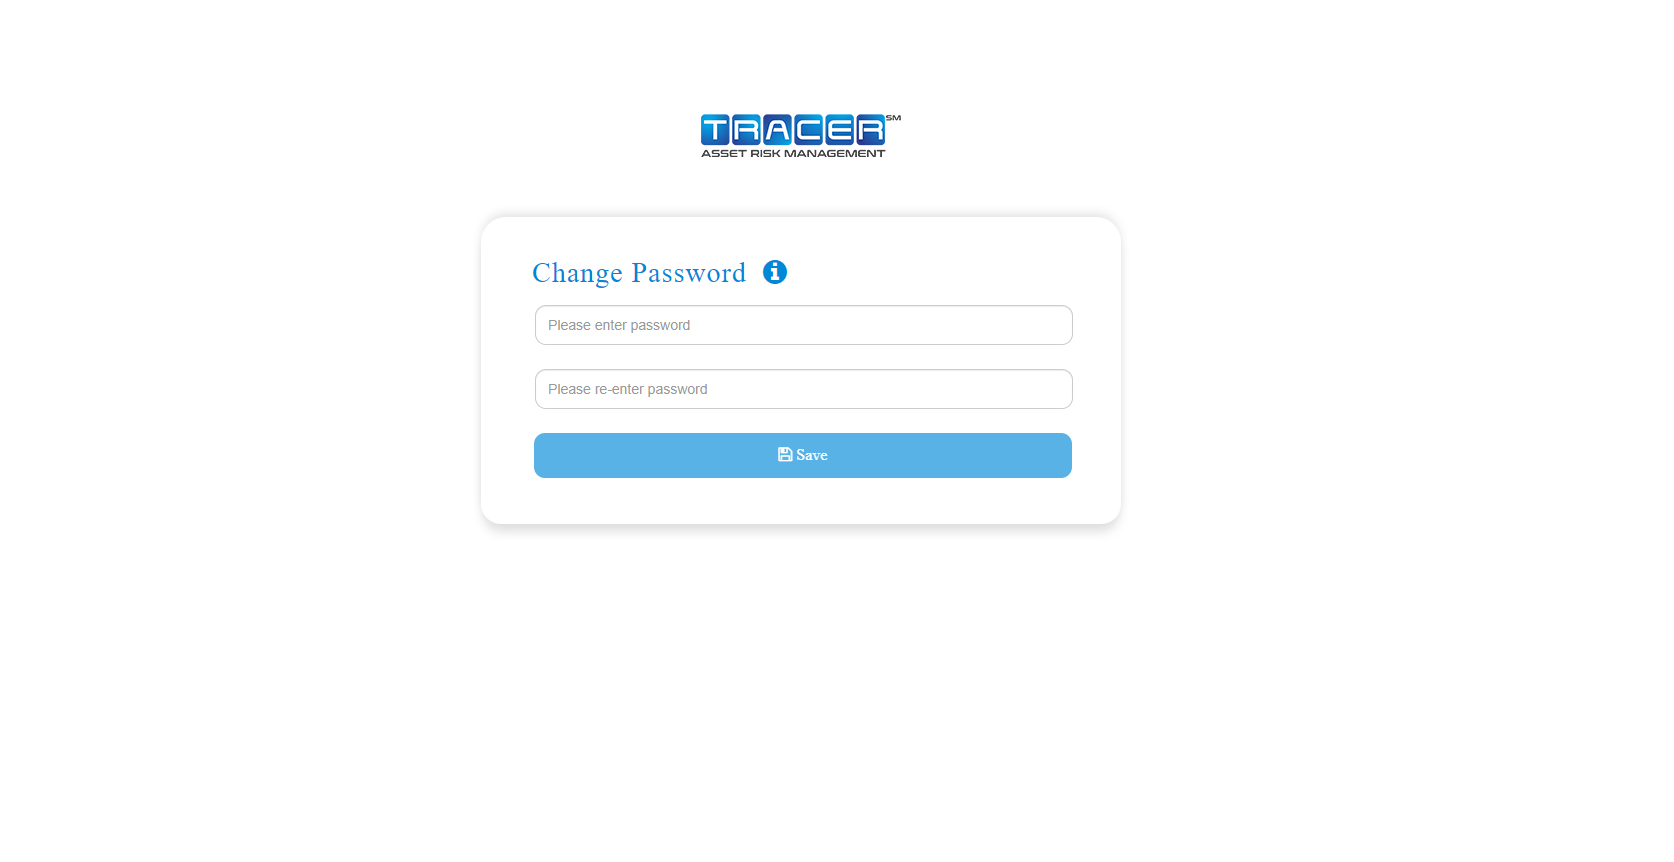
Change Password
Enter the desired password and save.
Automatic Logout
If you are inactive for a period of time, Tracer automatically will end your session. You will receive a pop-up warning indicating your session will expire in 1 minute if you do not continue. If you are logged out automatically, you will be redirected to the login page where you will have to re-enter your credentials to continue.
User Logout
To logout of your account, from the left navigation click on the Logout option to end your session.

Tracer Home
At any point while in the Tracer Compliance Portal, you may navigate to the Home Page by selecting the Tracer image at the top center of the page.

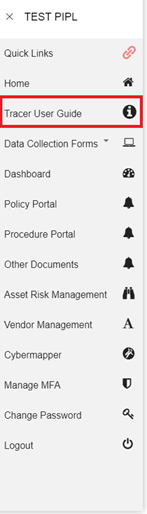
About Tracer
To access information about Tracer, including the Tracer User Guide and other useful links, select the Tracer User Guide button at the left navigation menu.
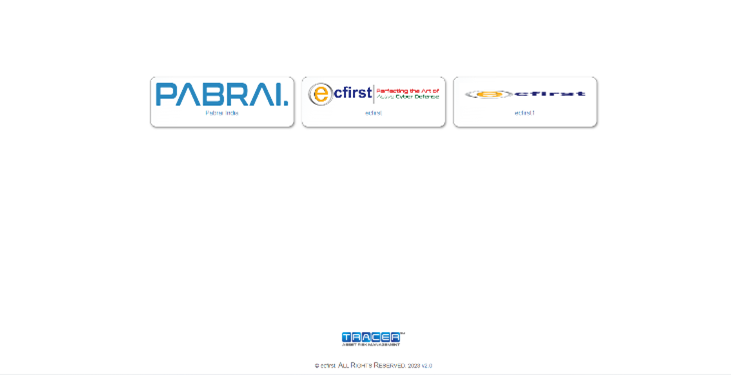
Client Selection
If you have access to multiple clients, such as users in an organization with multiple locations undergoing separate assessments and engagements, you will see multiple clients listed when you first login to Tracer. Select your location and/or engagement to proceed.
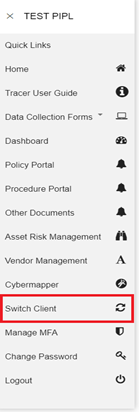
If at any point you want to select a different client while logged in, use the Switch Client menu in the left navigation bar at the left side of the page to select a different client.
If you have access to multiple clients, the client you currently are working with will always display in the top left corner of the screen.

Once you switch a client, or if you have access to only one client, the Assessment tab will display.
Selecting a Project Category
The Assessment tab will list Assessment Categories in which you have active engagements.
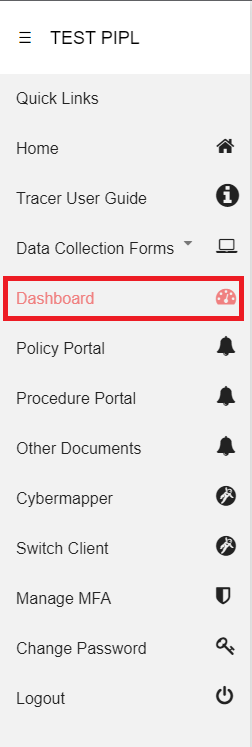
You may also navigate between Assessment Categories from any page using the side navigation menu at the top left of the page.
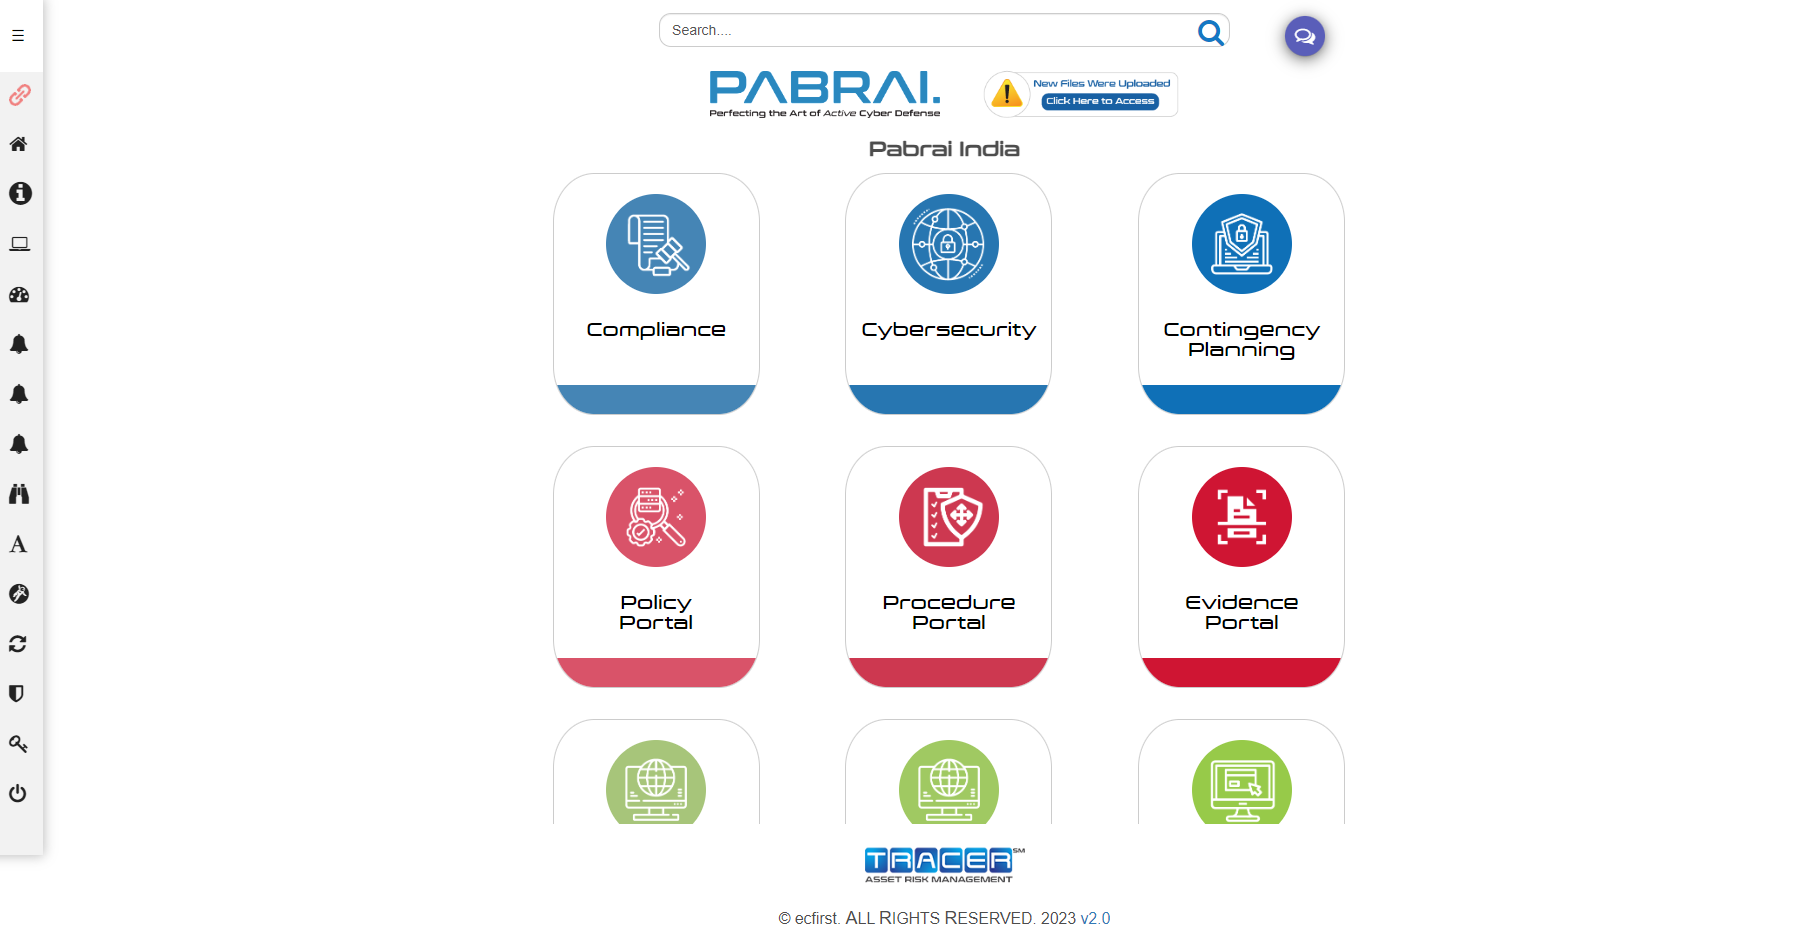
Once you’ve selected a Assessment Category, all the Data Collection Forms (DCF) required for your engagement will be displayed.
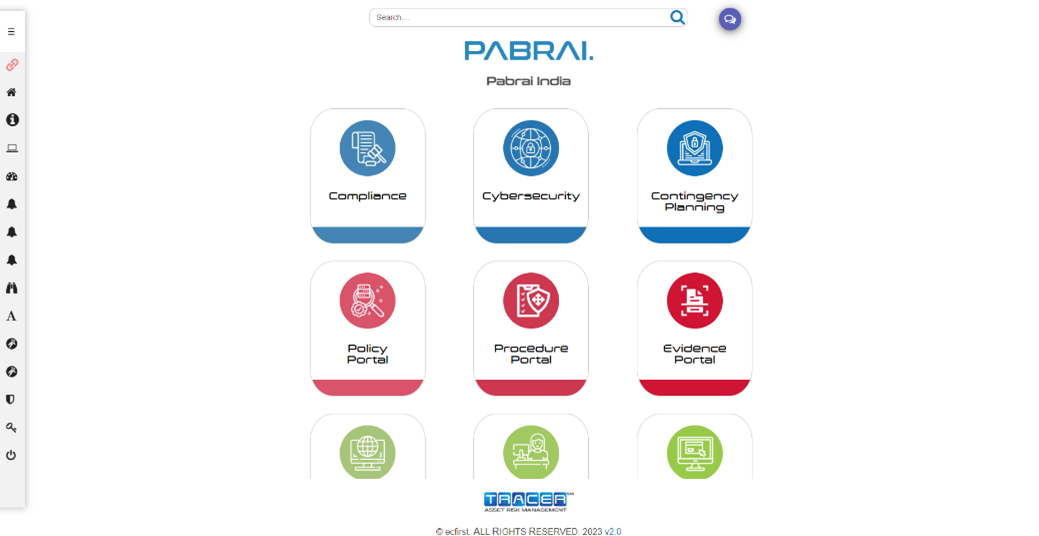
Quick Links
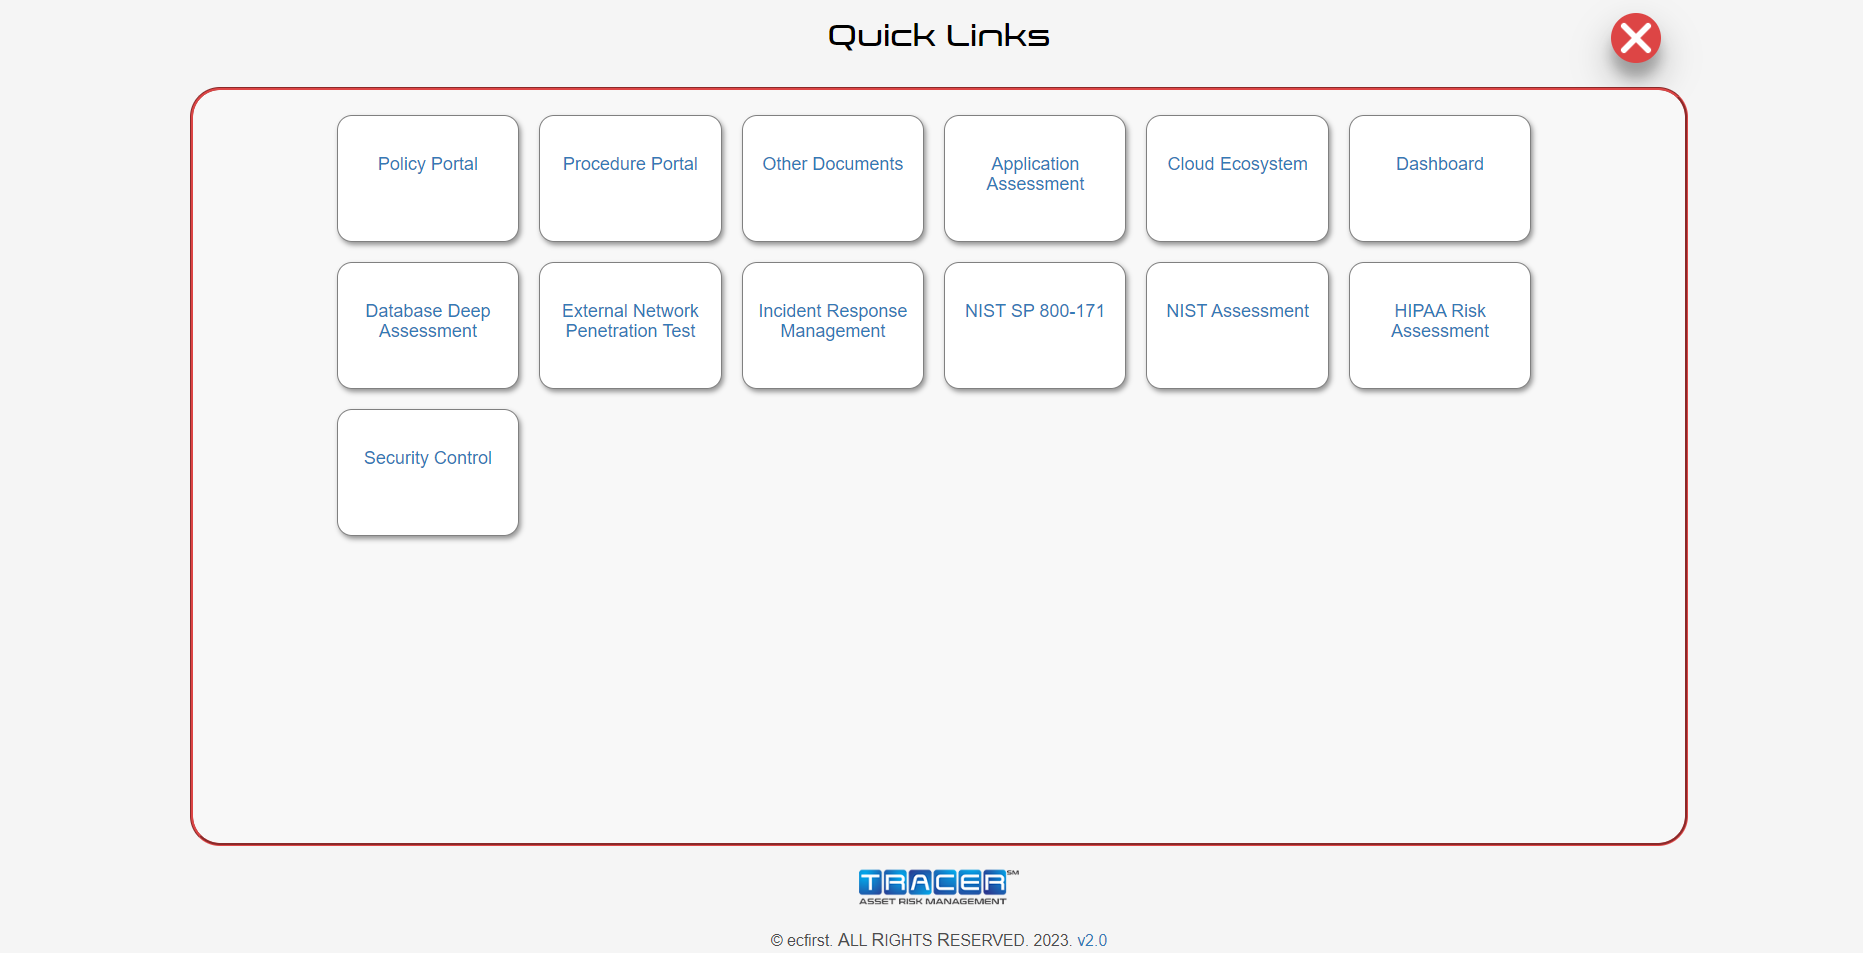
Once you login you will see these pop up, within the pop up all the Data Collection Forms (DCF) required for your engagement will be displayed. If you want to go specific module, click the module tile you want you will be redirected to that specific module.
Risk Assessment Module
Data Collections Forms ⇒ Compliance ⇒ HIPAA

Cybersecurity Assessment Module
Home ⇒ Cybersecurity
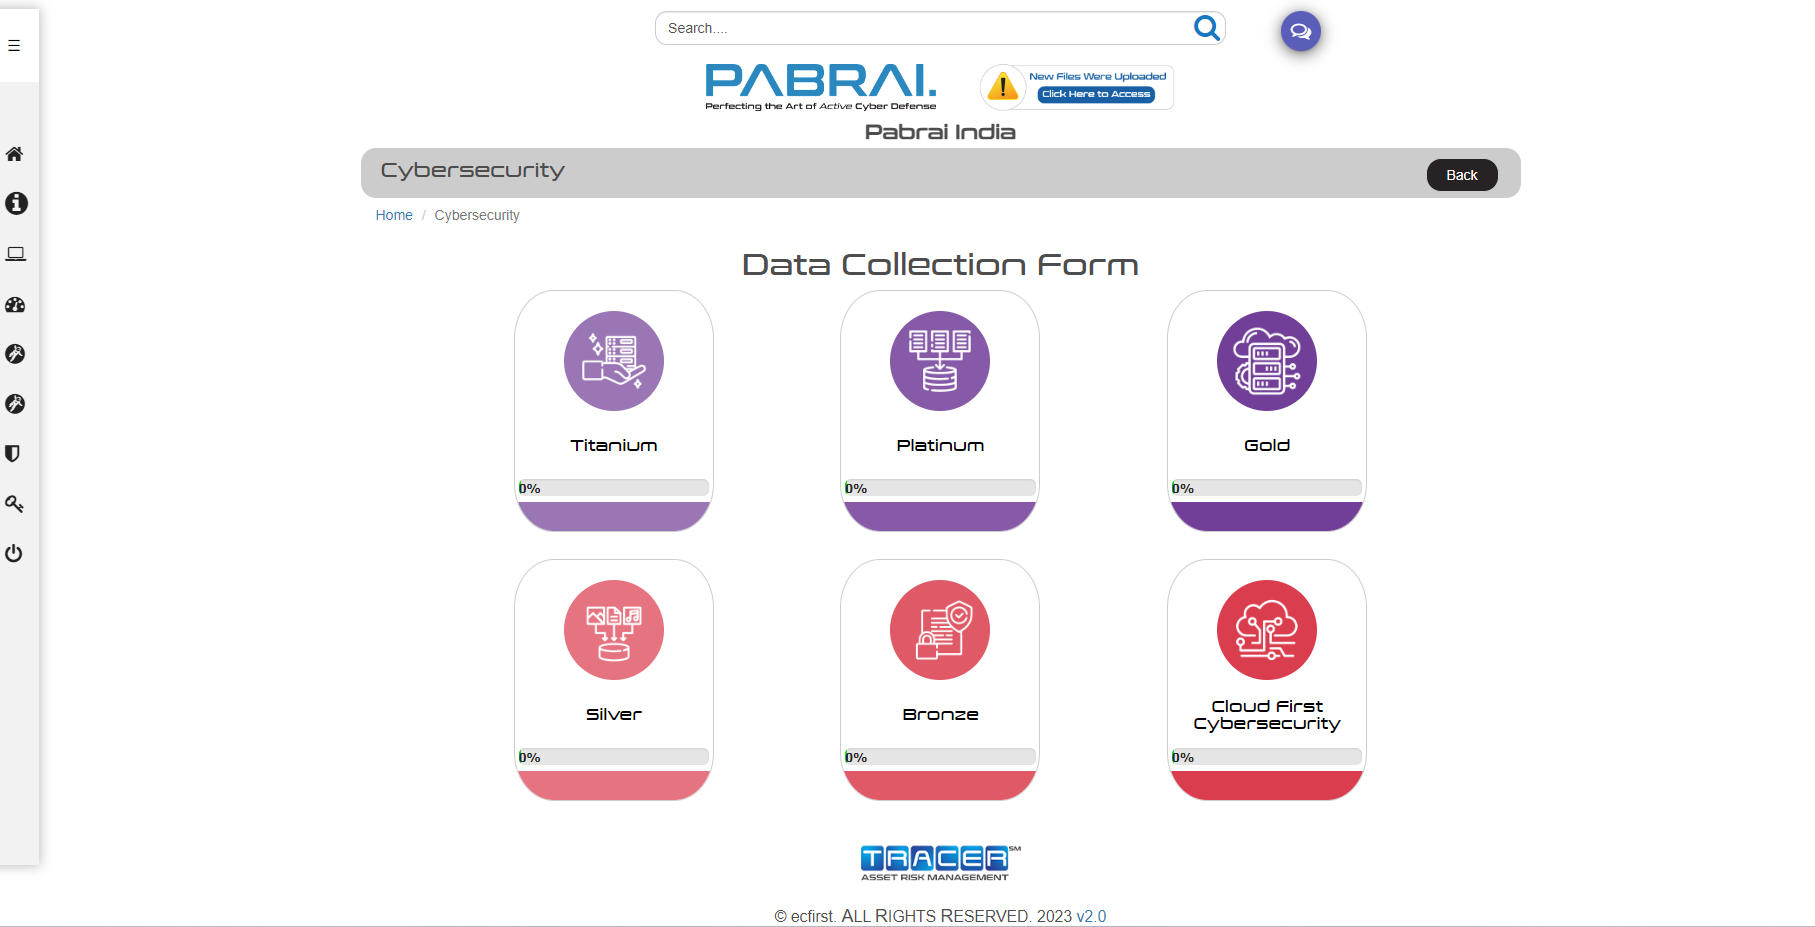
Note: This screen shows all of the Cybersecurity Assessment tier DCFs. For your engagement, only the DCF for the tier you’ve selected will be displayed.
Contingency Module
Home ⇒ Contingency Planning DCF
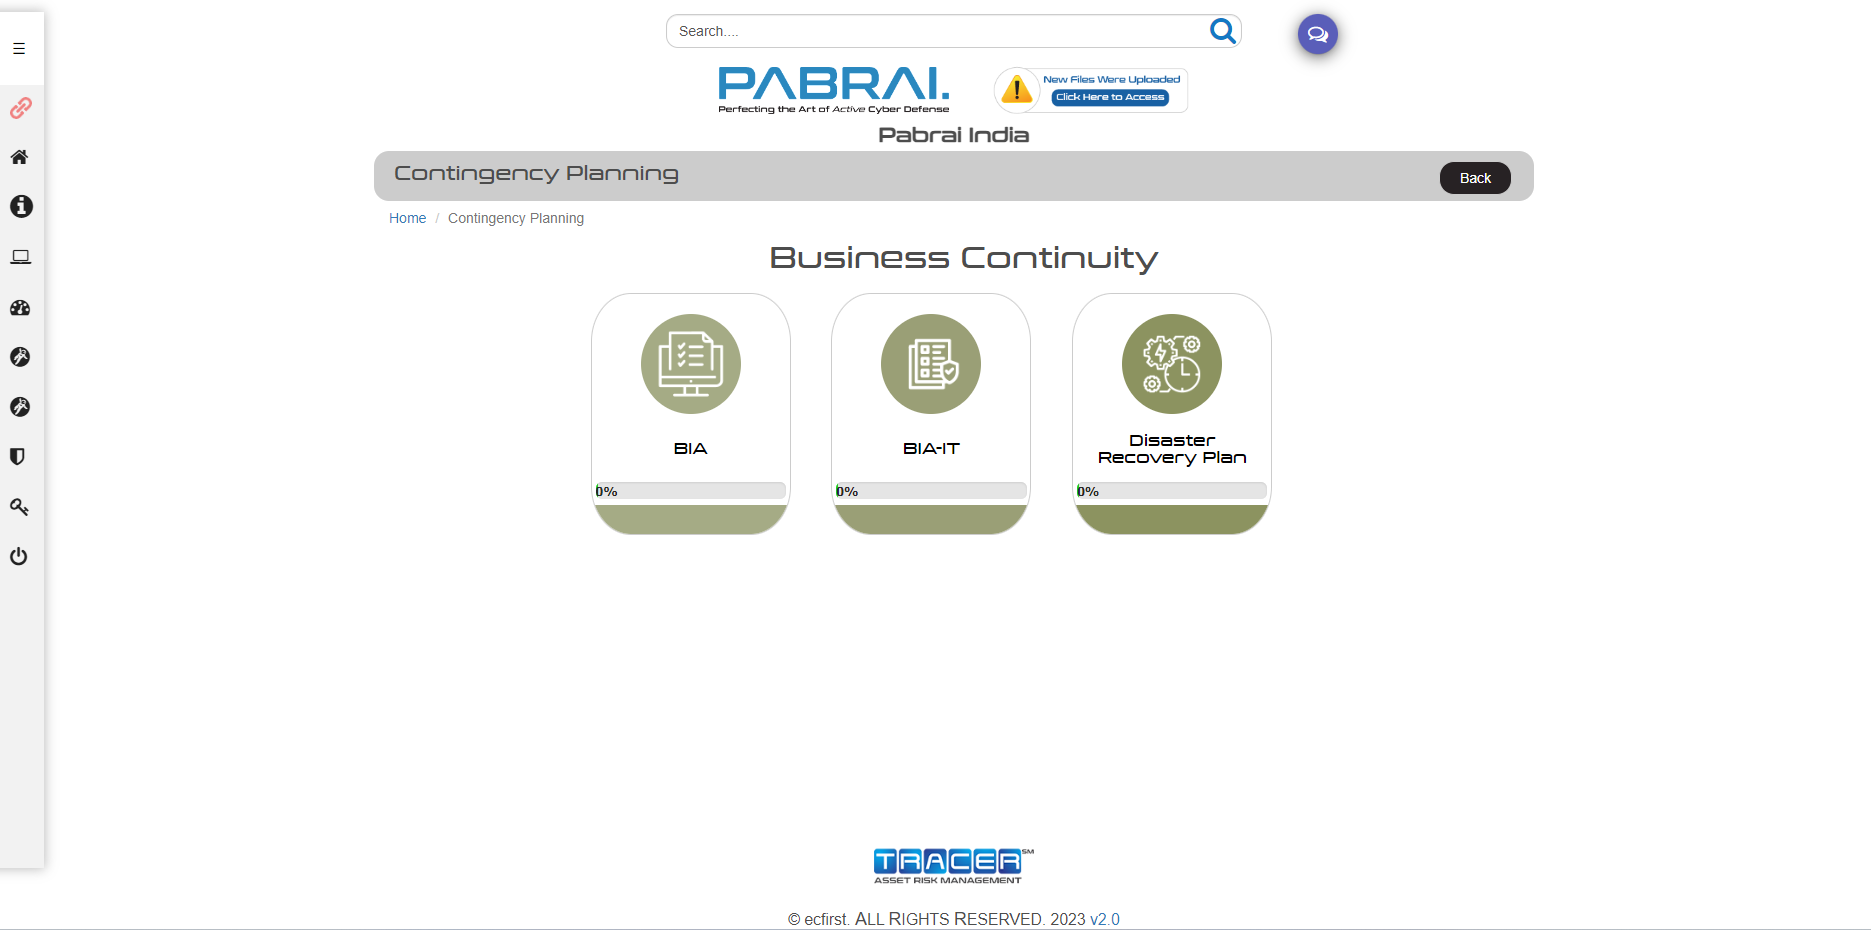
Note: For your engagement, only the contingencies you have selected will be displayed.
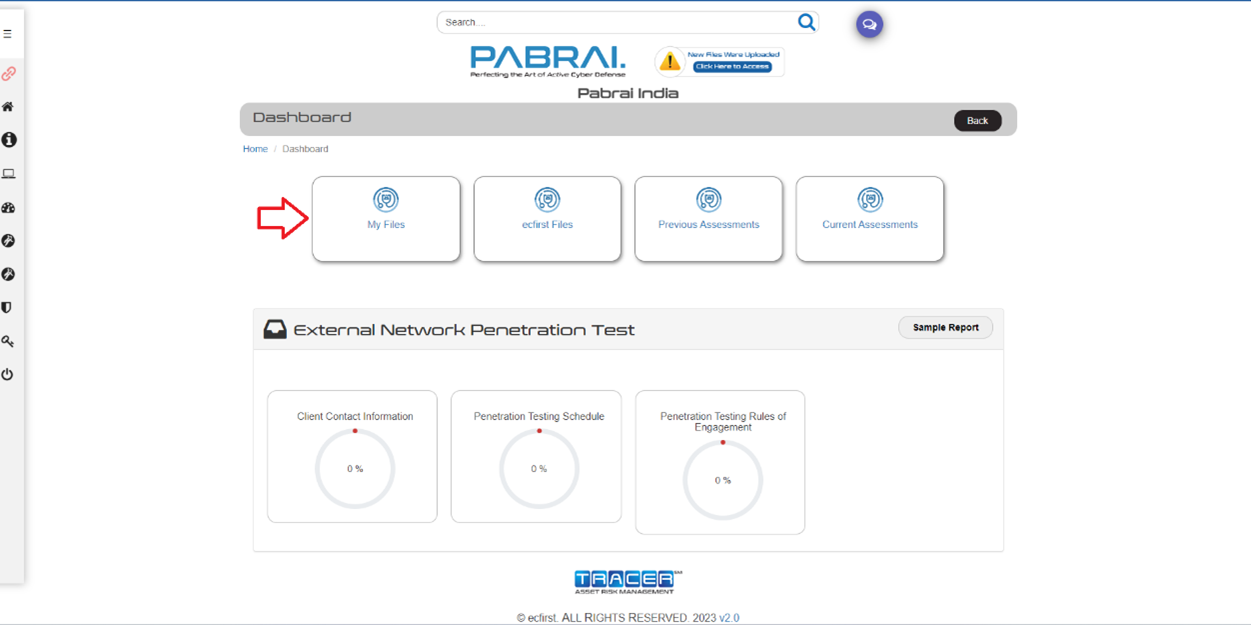
File and Document Access Module
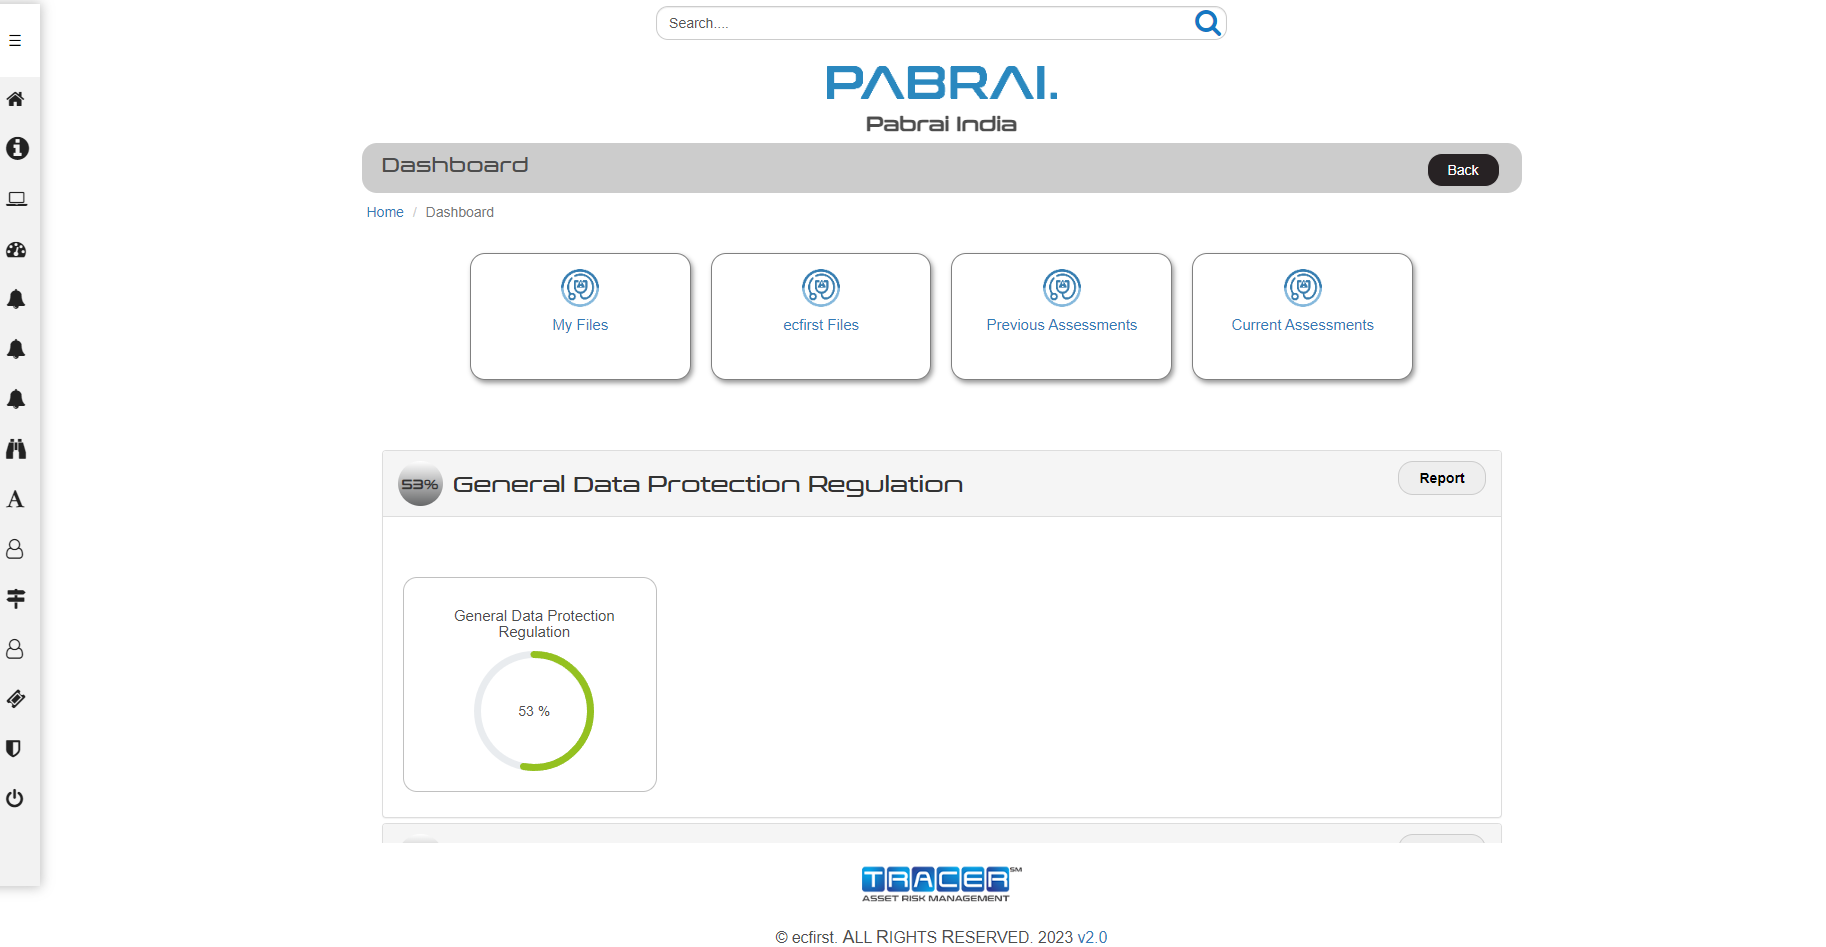
Dashboard ⇒ File and Document Access
Note: For your engagement, only the options you have selected will be displayed.
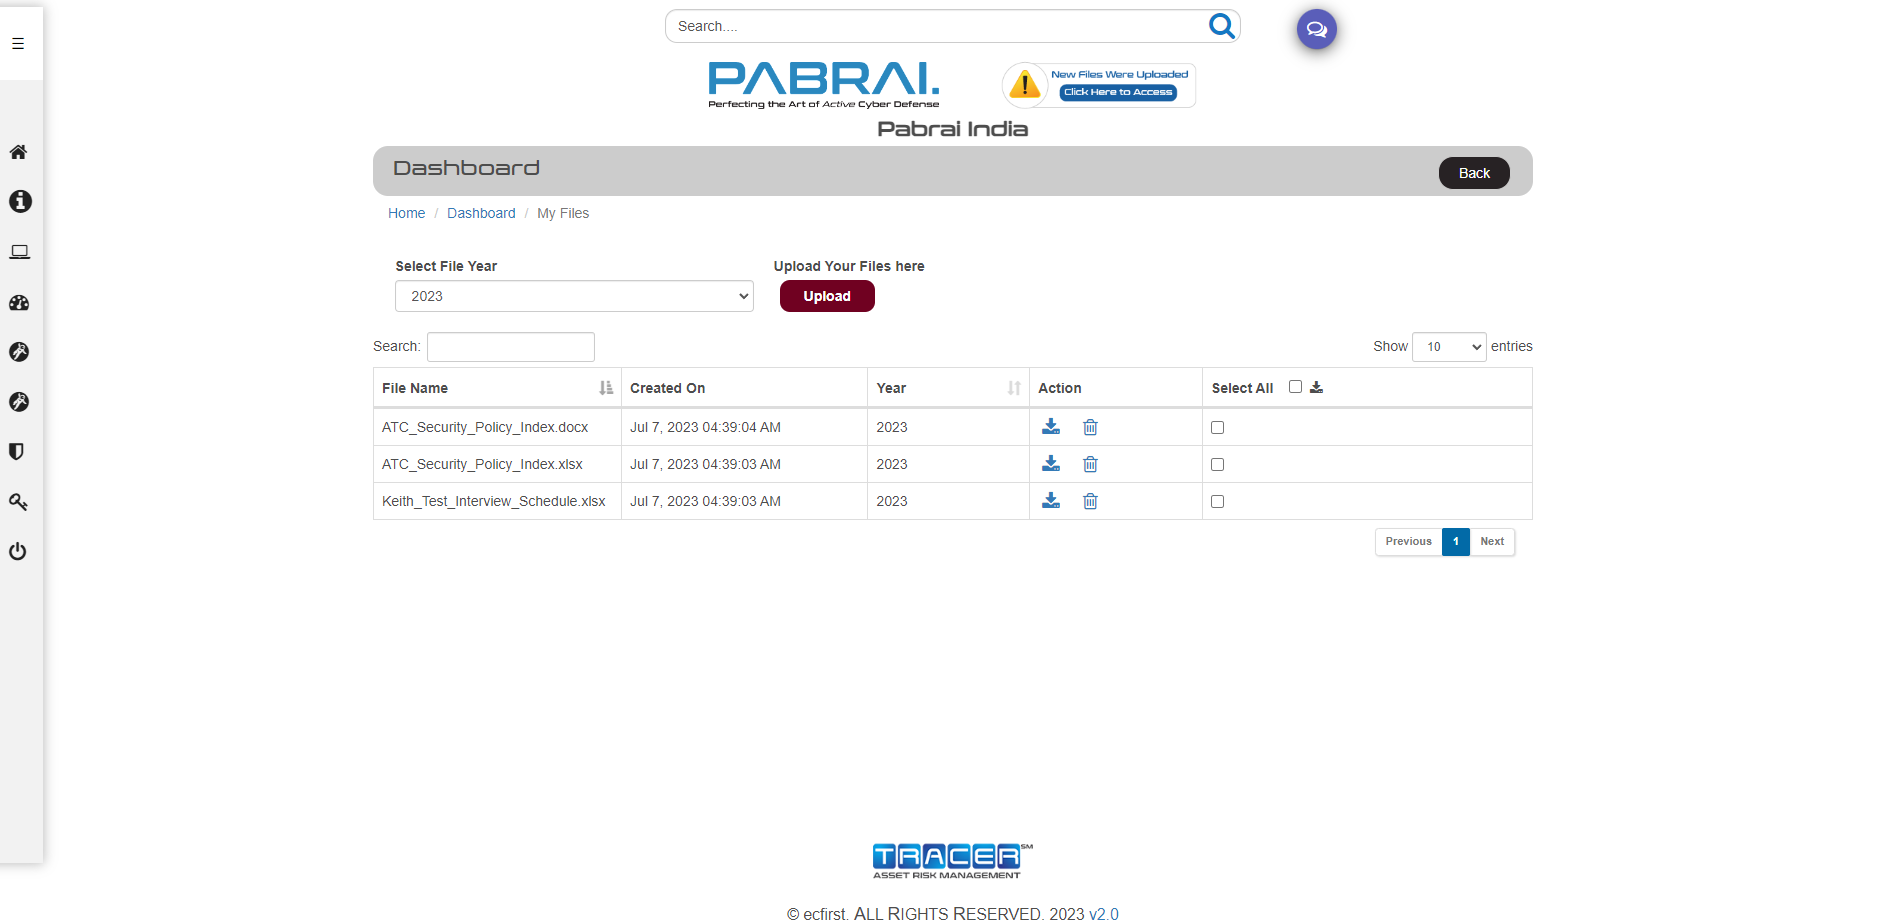
Uploading Additional Files
Dashboard ⇒ My Files
IIf you wish to upload additional files outside of a specific DCF, click the Select File Type then select My Files option in dropdown, then you will see Upload button under File and Document Access. Upload your documents.
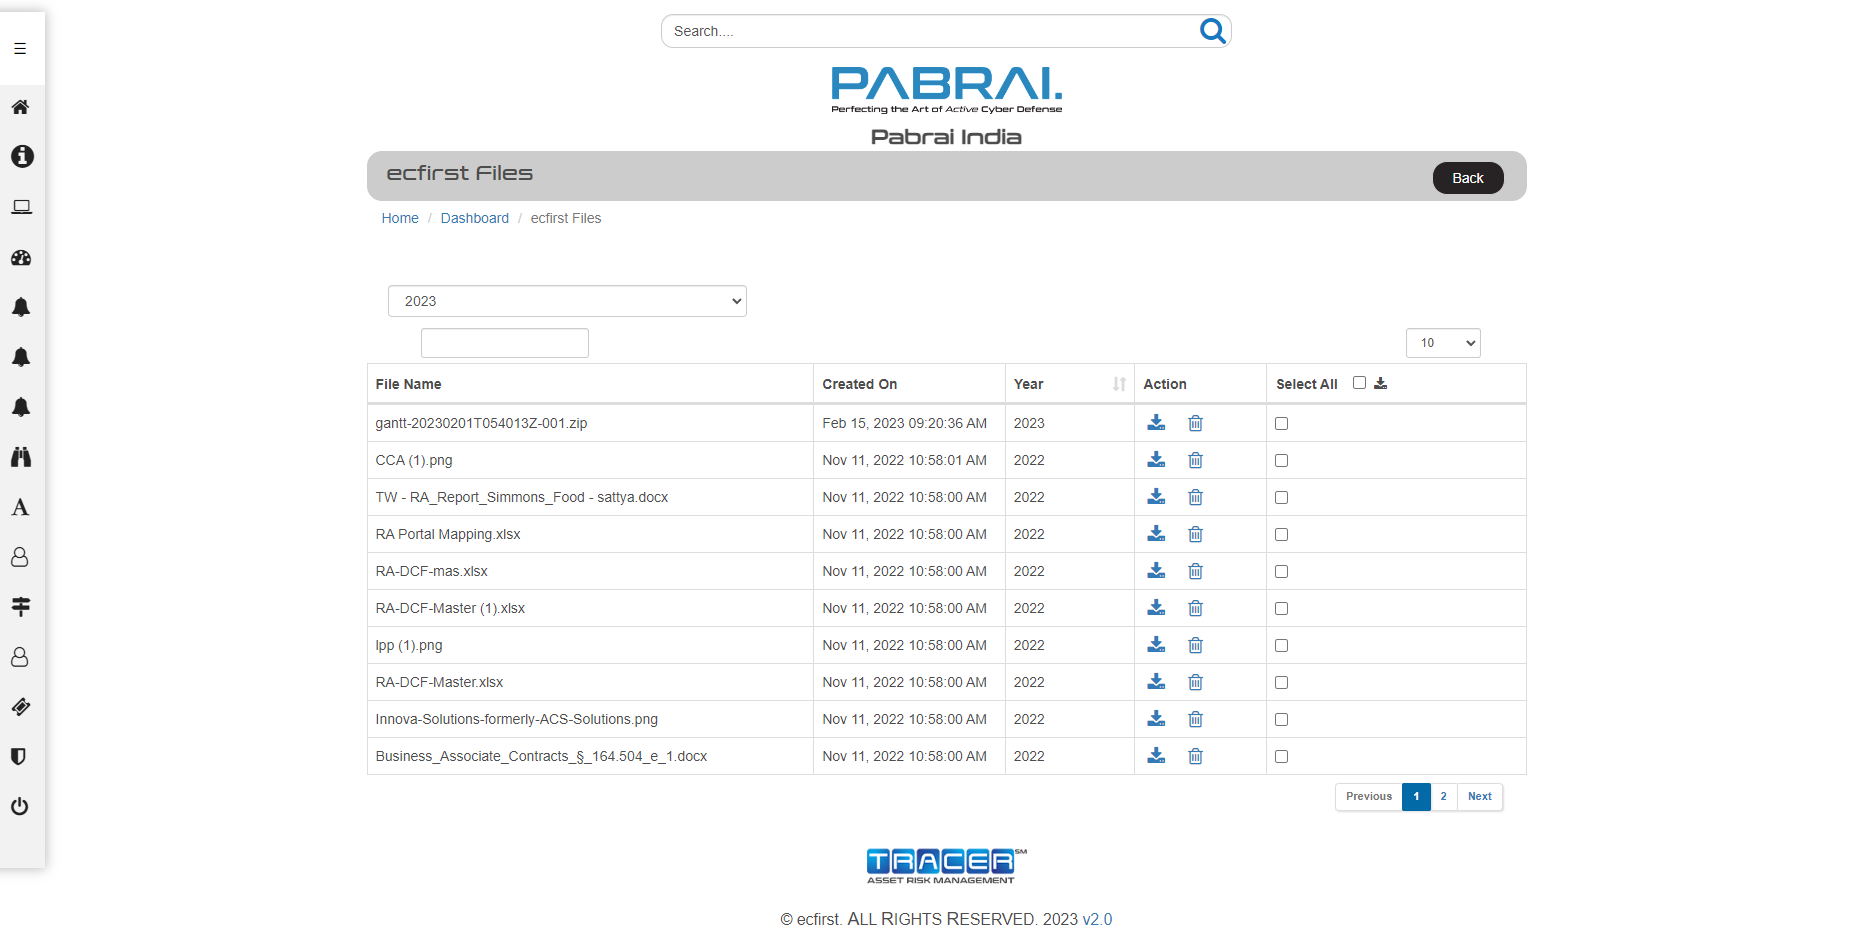
Downloading Files
Dashboard ⇒ ecfirst Files
To see files from client, select the year option in the File Year dropdown.
To download files, go to the Dashboard tab and click on ecfirst Files, then select from the File Year dropdown. Here you will find all deliverables and documents from clients.
Previous Assessments
Dashboard ⇒ Previous Assessments
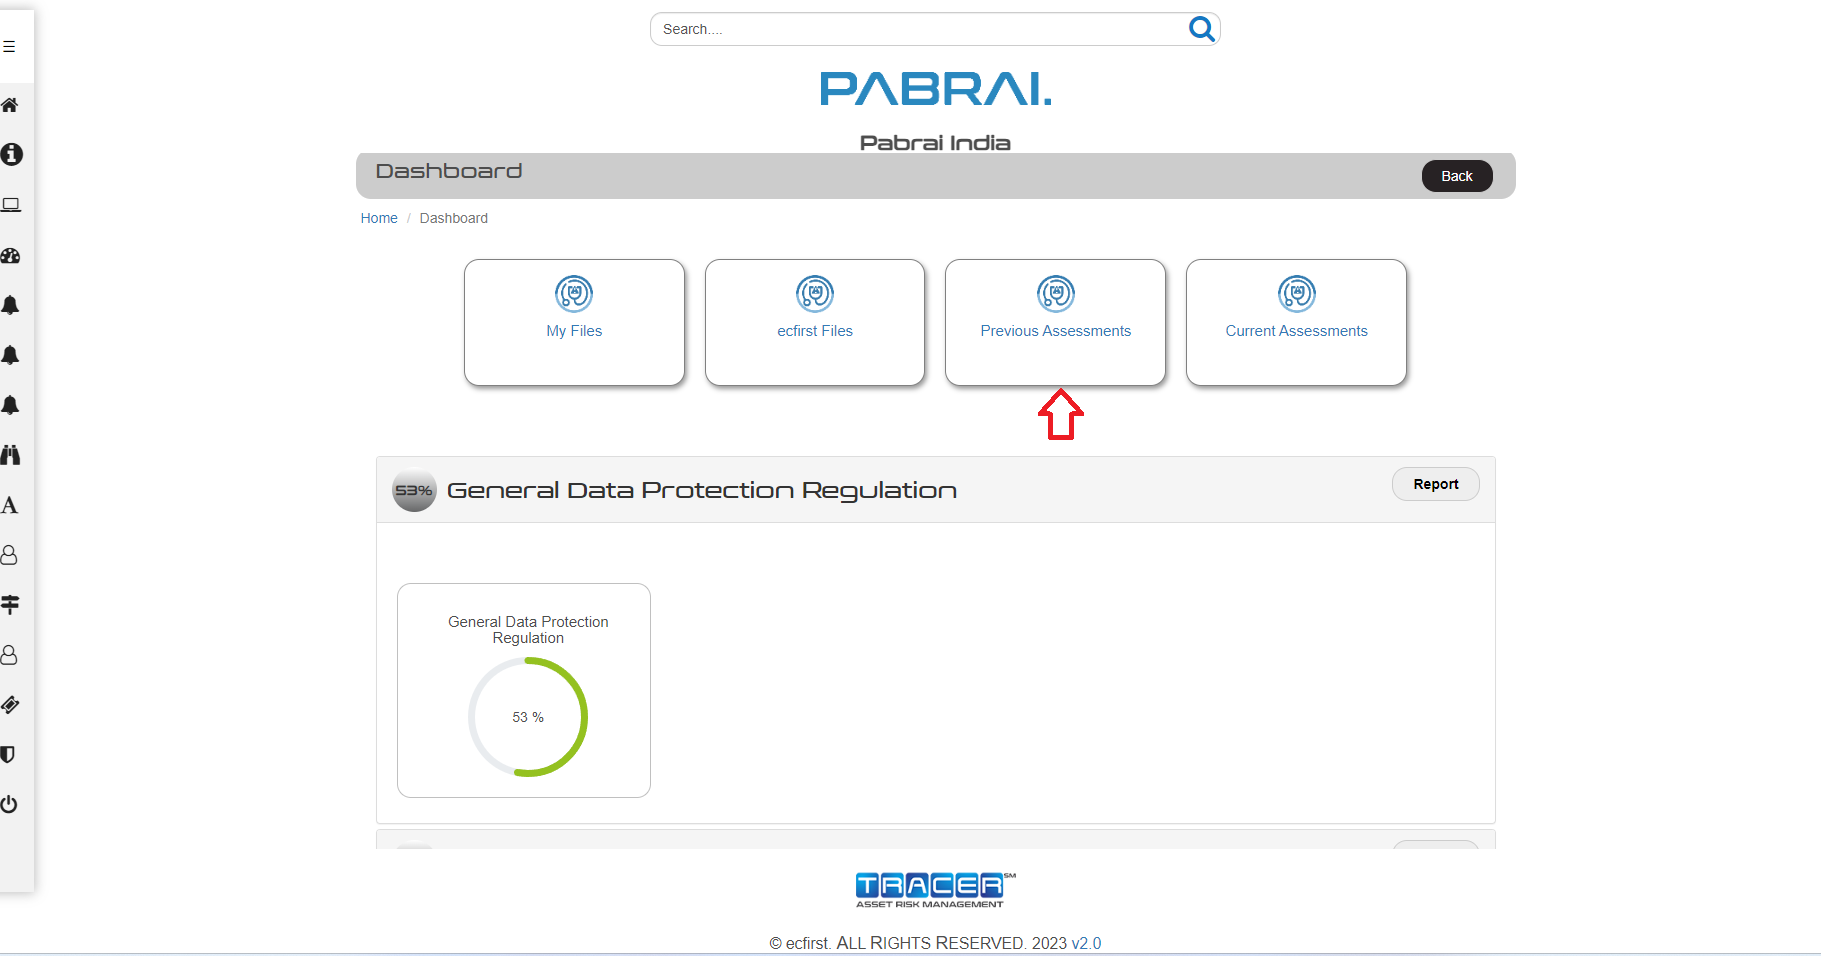
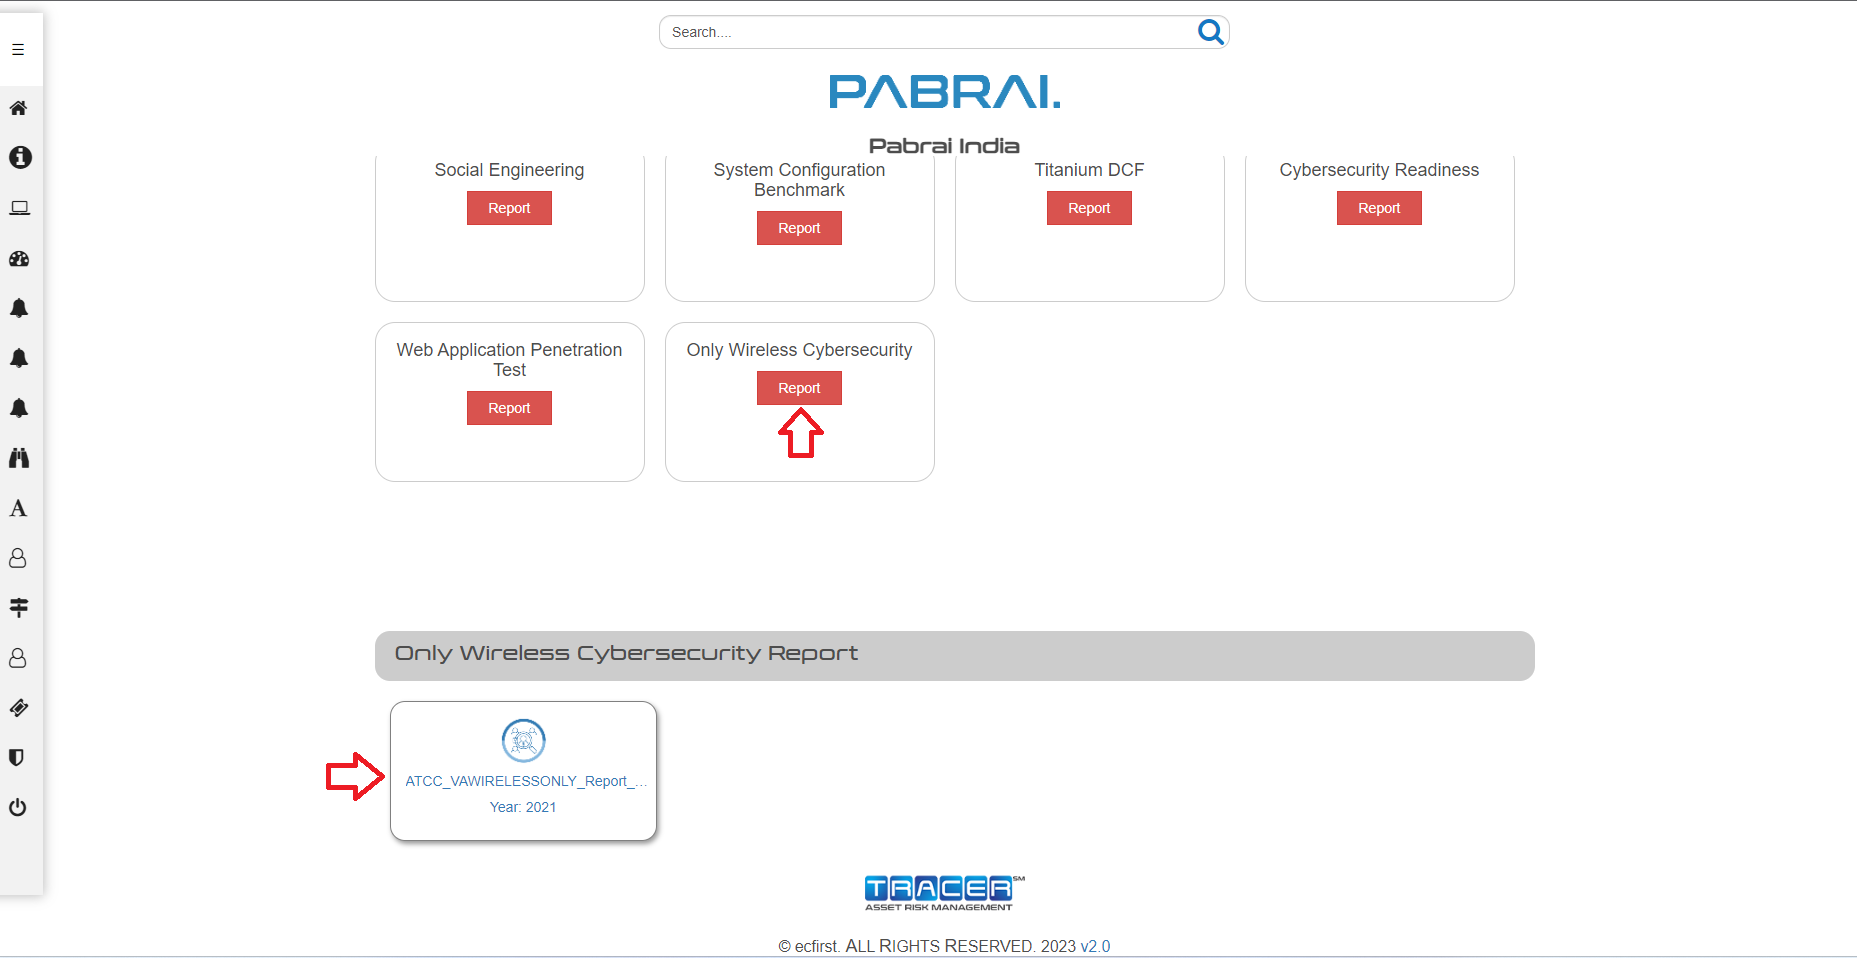
Once you click report button it automatically scrolls down. It displays only old assessment report. Once you select report it is downloaded into excel format.
Current Assessments
Dashboard ⇒ Current Assessments
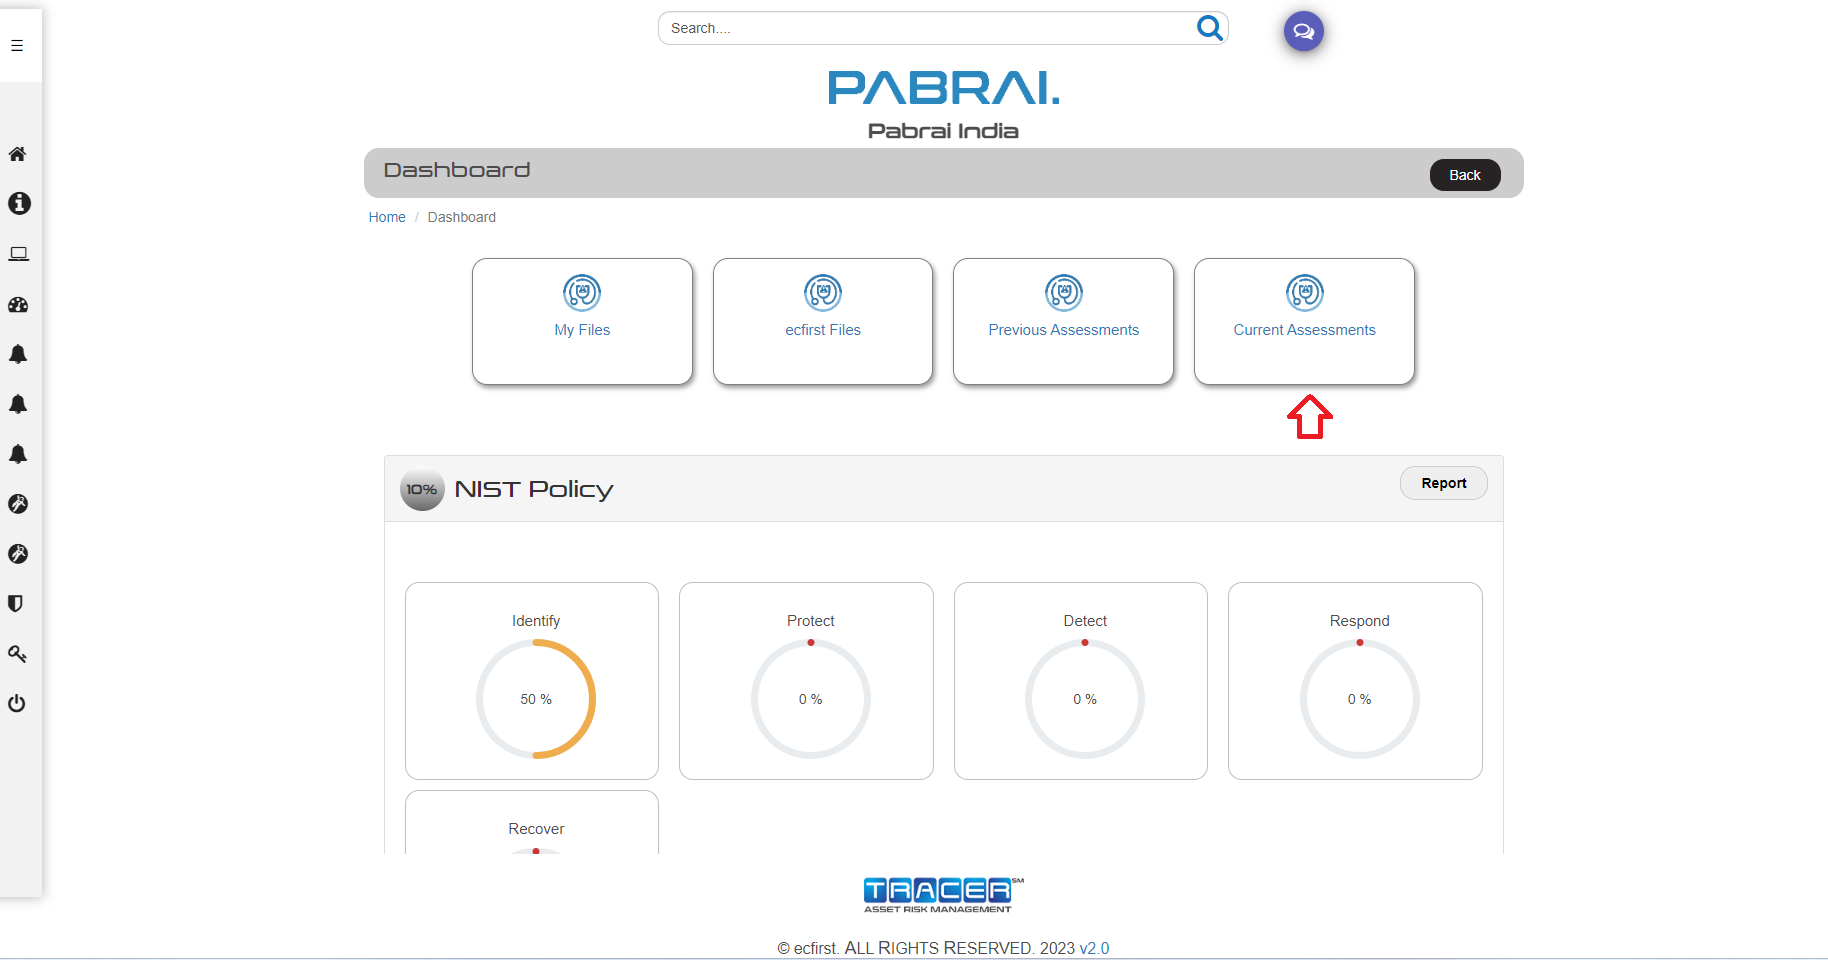
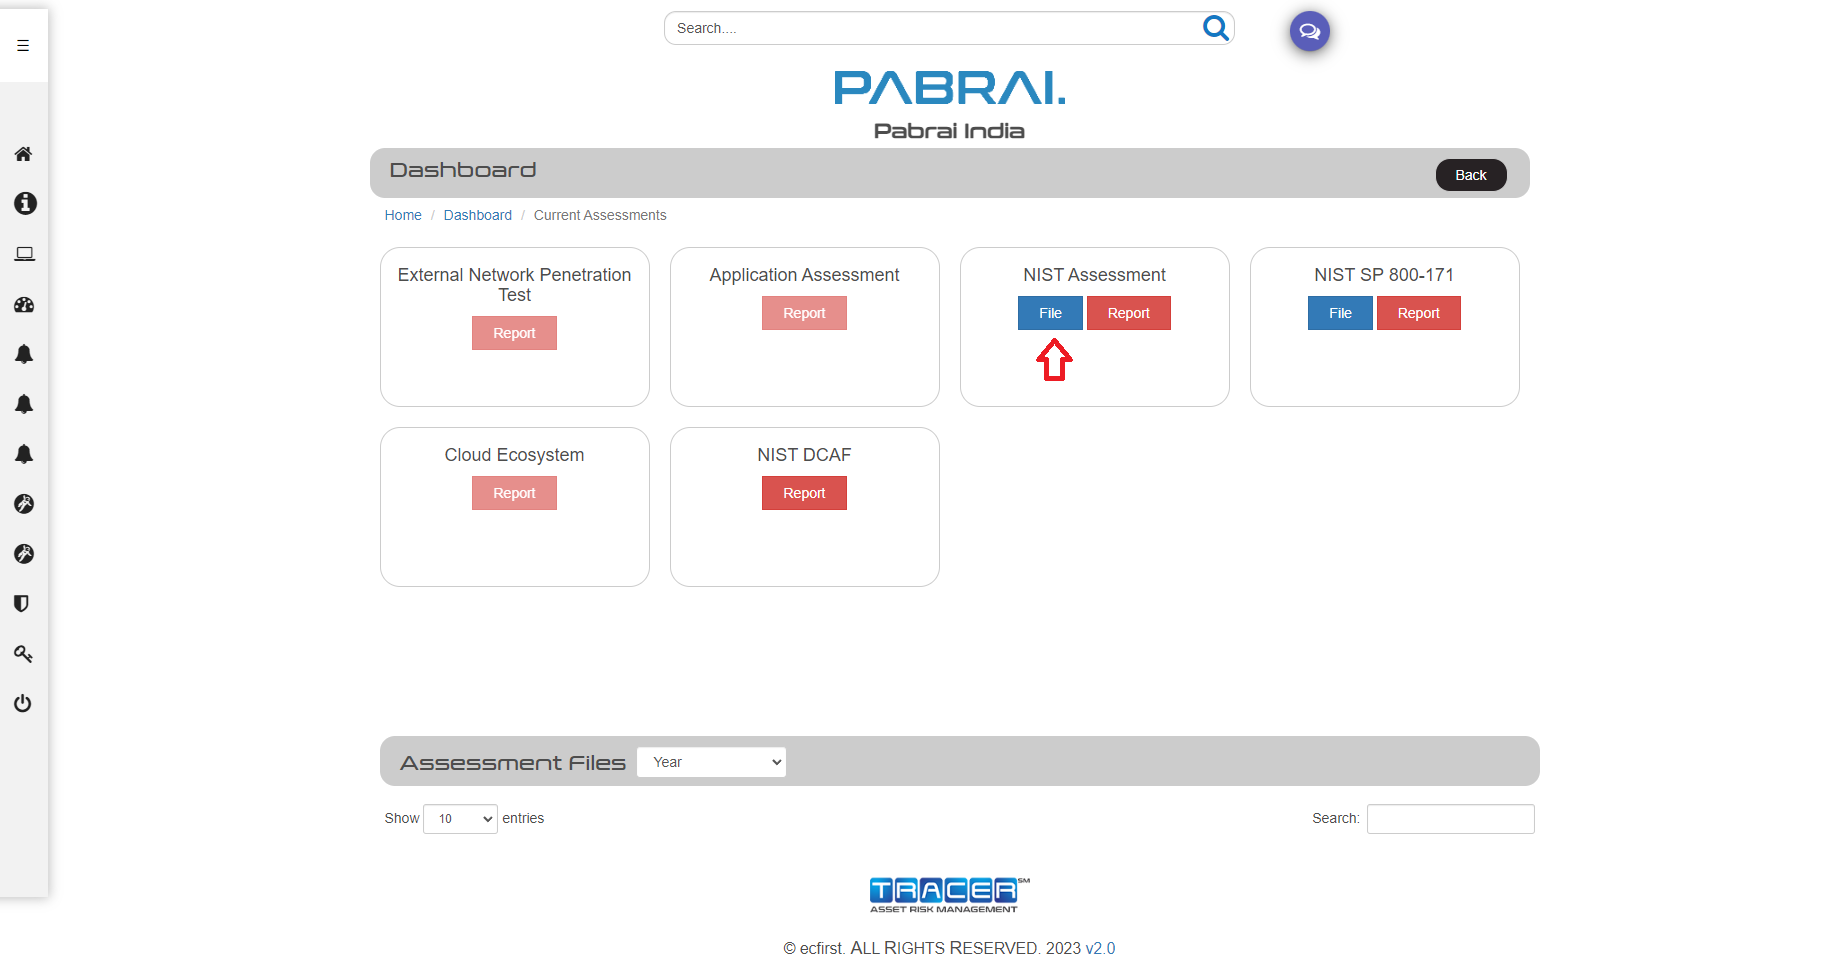
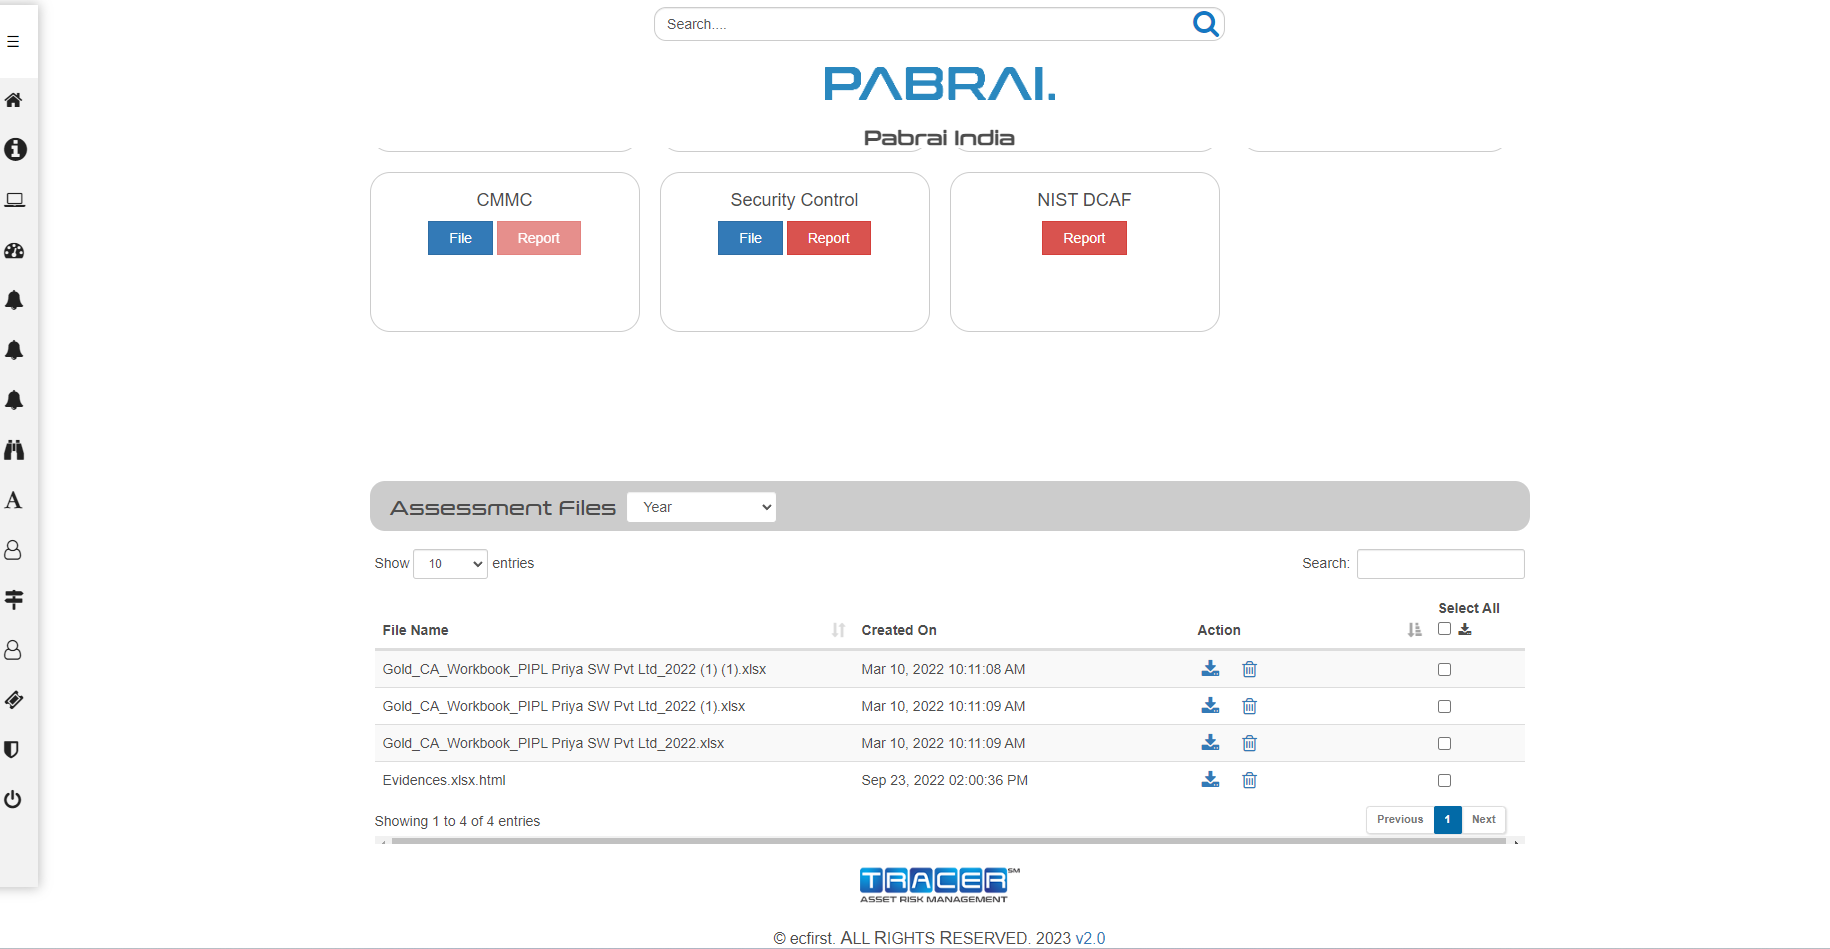
Once you click file button it automatically scrolls down displaying the list of files in table view.
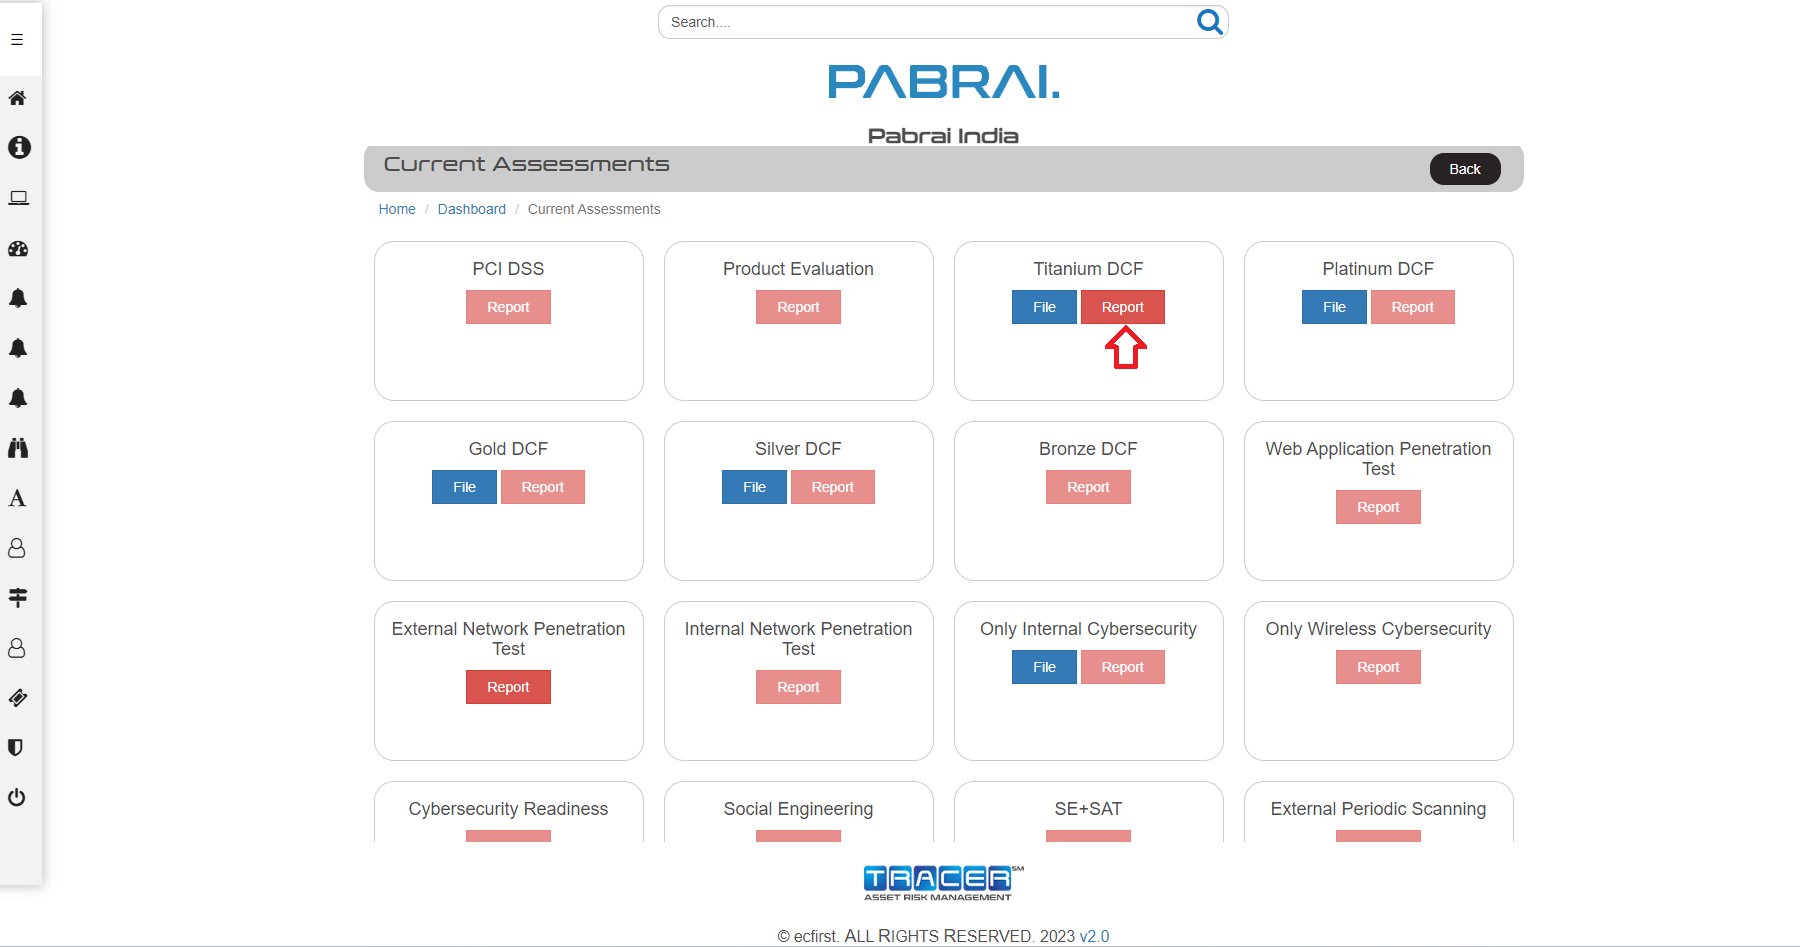

Once you click report button it automatically scrolls down. It displays only current assessment report. Once you select report it is downloaded into excel format.
Downloading Assessment File Without Locking Menu
Home ⇒ Dashboard
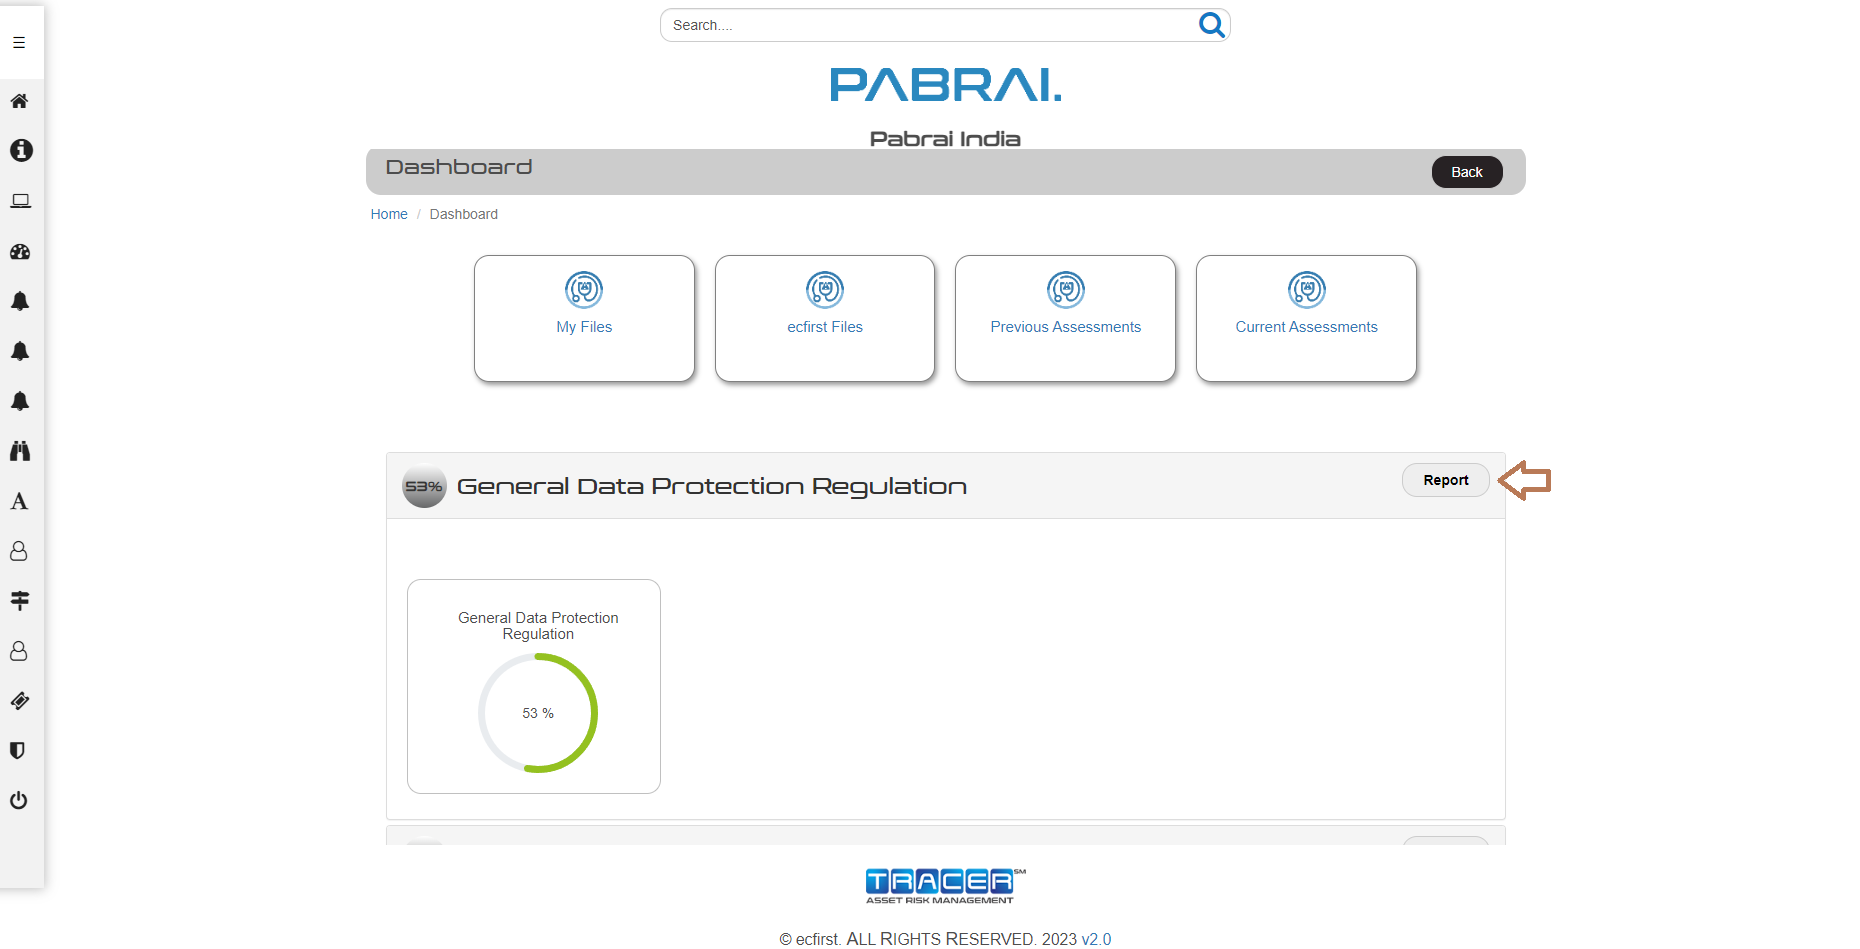
If you want download assessment or DCF(s) file without locking specific module, click report button to download the file.
Data Collection Forms (DCF)
The DCF is where you will enter the data ecfirst requires for your assessment or contingency plan. The DCF tracks the percentage of completion as you enter your information.
Once you click Data Collection form(s) in side menu,you will be redirected to the below image page.
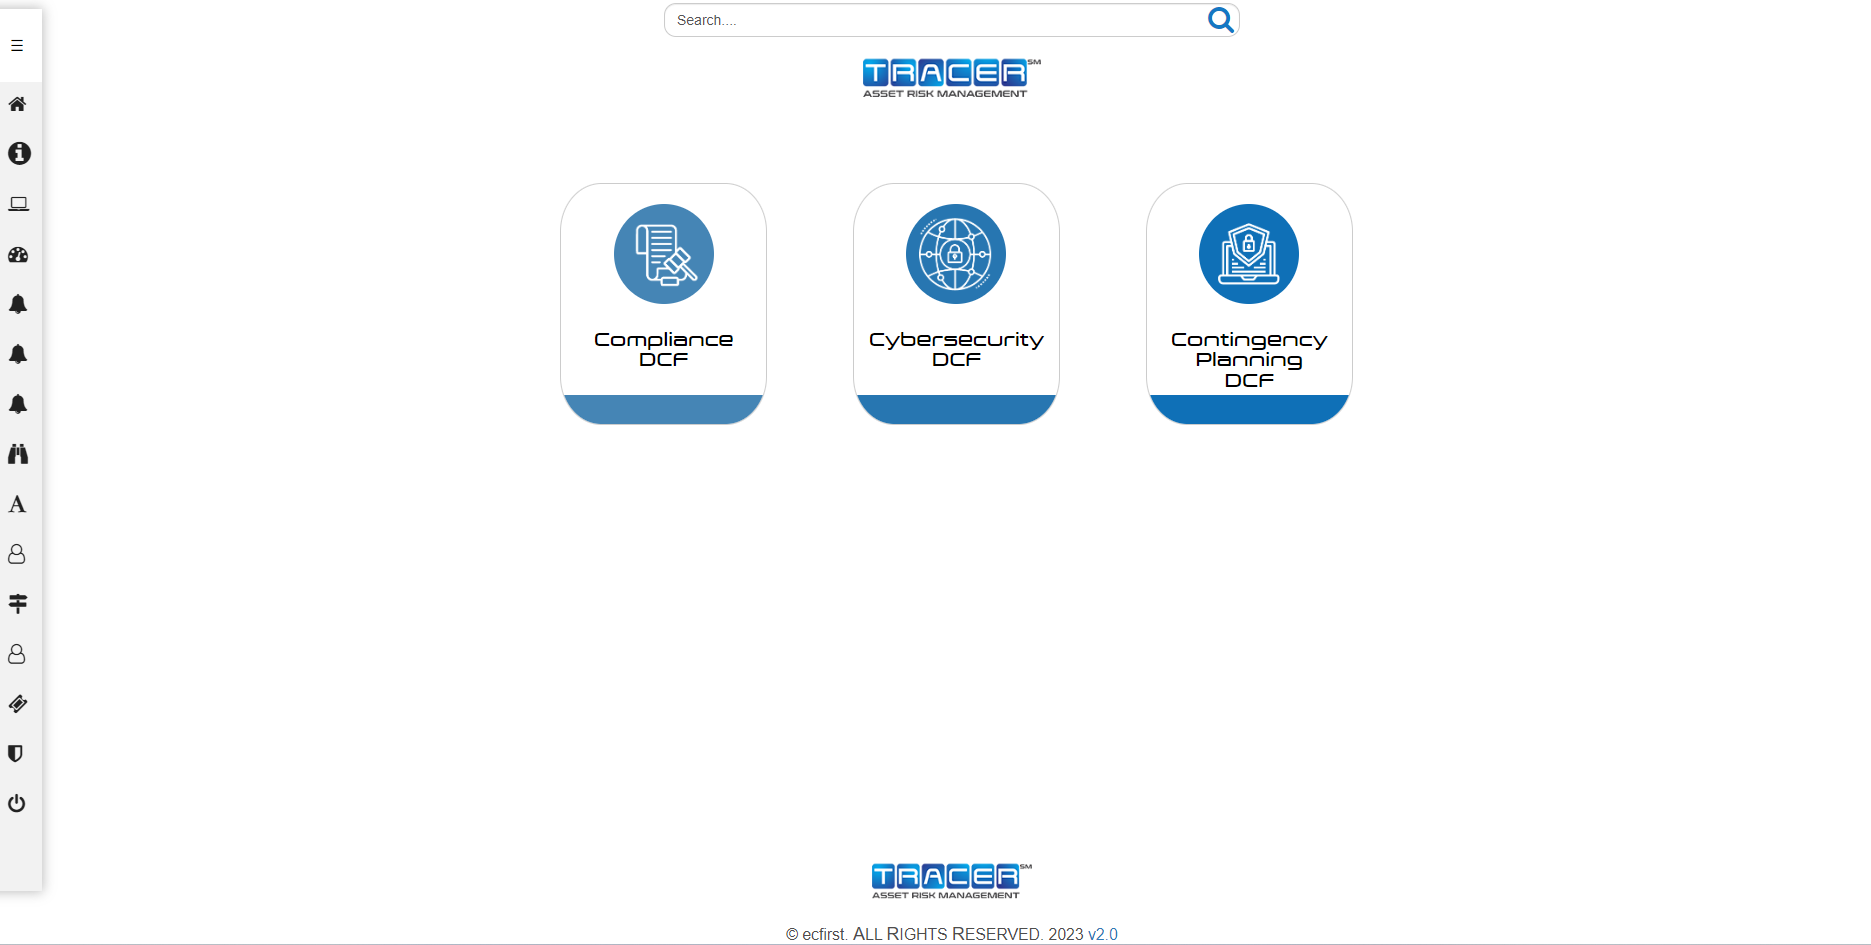
Generally,DCF(s) forms categorized into three parts such as
- Compliance DCF
- Cybersecurity DCF
- Contingency Planning DCF
Compliance DCF
The Compliance DCF includes sections for:
- HIPAA
- CMMC
- NIST Cybersecurity Framework
- NIST SP800-171
- GDPR
- PCI DSS
- Application
- Security Controls
- Product Evaluation
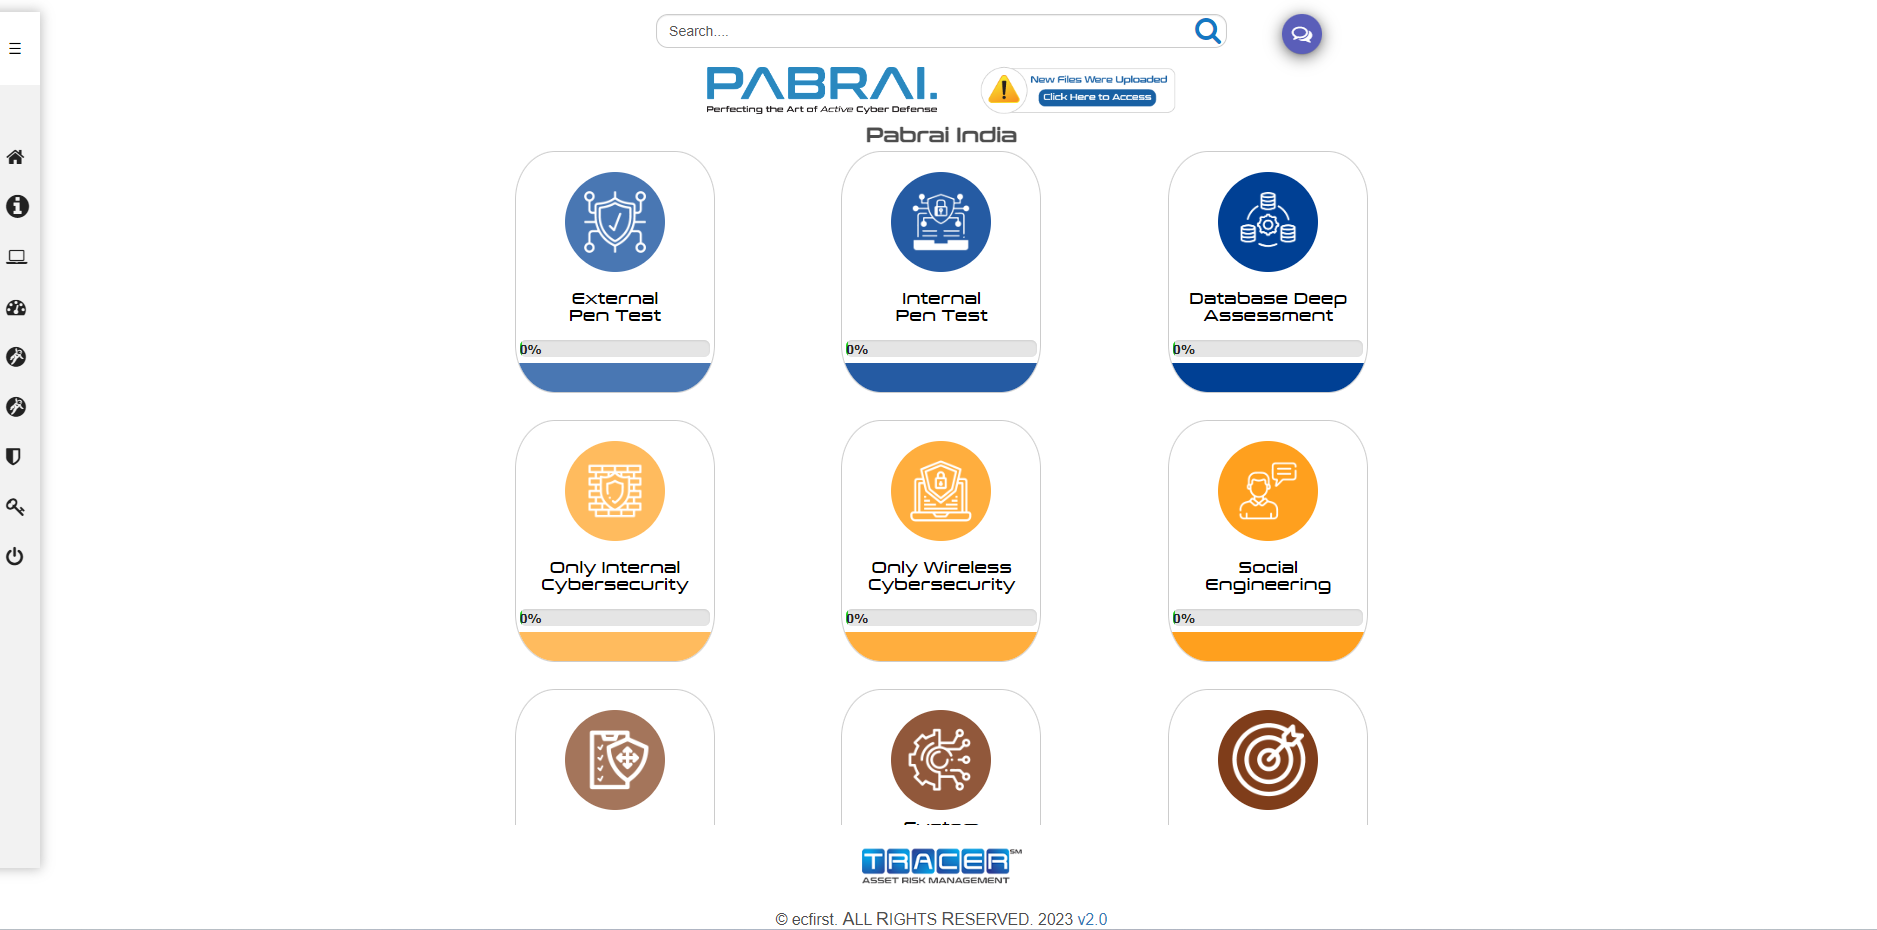
Cybersecurity DCF
The information needed for the Cybersecurity Assessment DCF depends on the tier you select for the engagement. Sections include:
- Client Contact Information
- External Assessment
- Client Contact Information
- External Assessment
- Firewall Assessment
- Client Contact Information
- External Assessment
- Firewall Assessment
- Client Contact Information
- External Assessment
- Internal Assessment
- Wireless Assessment
- Firewall Assessment
- Client Contact Information
- External Assessment
- Internal Assessment
- Wireless Assessment
- Firewall Assessment
- Client Contact Information
- Web App Pen Test
- Client Contact Information
- Pen Test Schedule
- Client Contact Information
- Internal Assessment
- Wireless Assessment
- Firewall Assessment
- Client Contact Information
- Wireless Assessment
- Social Engineering
- User Info
- General Information
- Security Awareness Training
- User Info
- Client Contact Information
- System Configuration Benchmark Assessment
- External Assessment
- Internal Assessment
- Firewall Assessment
- Wireless Assessment
- Client Contact Information
- External Assessment
- Client Contact Information
- Internal Assessment
- Client Contact Information
- Web App Cybersecurity Assessment
Contingency Plans DCF
The information needed for the Contingency DCF depends on the type of contingency plan for which you have engaged ecfirst. Two examples are shown.
- In-scope locations
- Roles and Responsibilities
- Data Center Operations
- Hardware and Equipment
- End User Equipment
- Disaster Recovery Strategies
- Key Contacts
- Applications and Platform Servers
- BIA Data Collection Form
- BIA-IT Data Collection Form
To complete the DCF, click on a button in the category. Be sure to go through each button to complete your DCF. If you do not have the requested information or it does not apply, note that on the DCF.
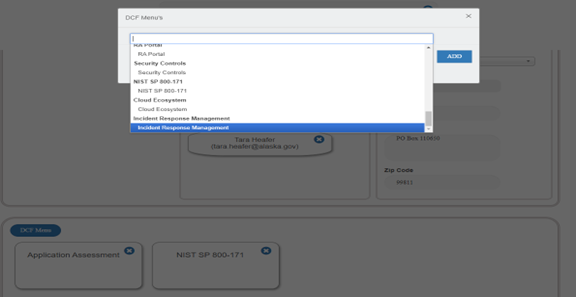
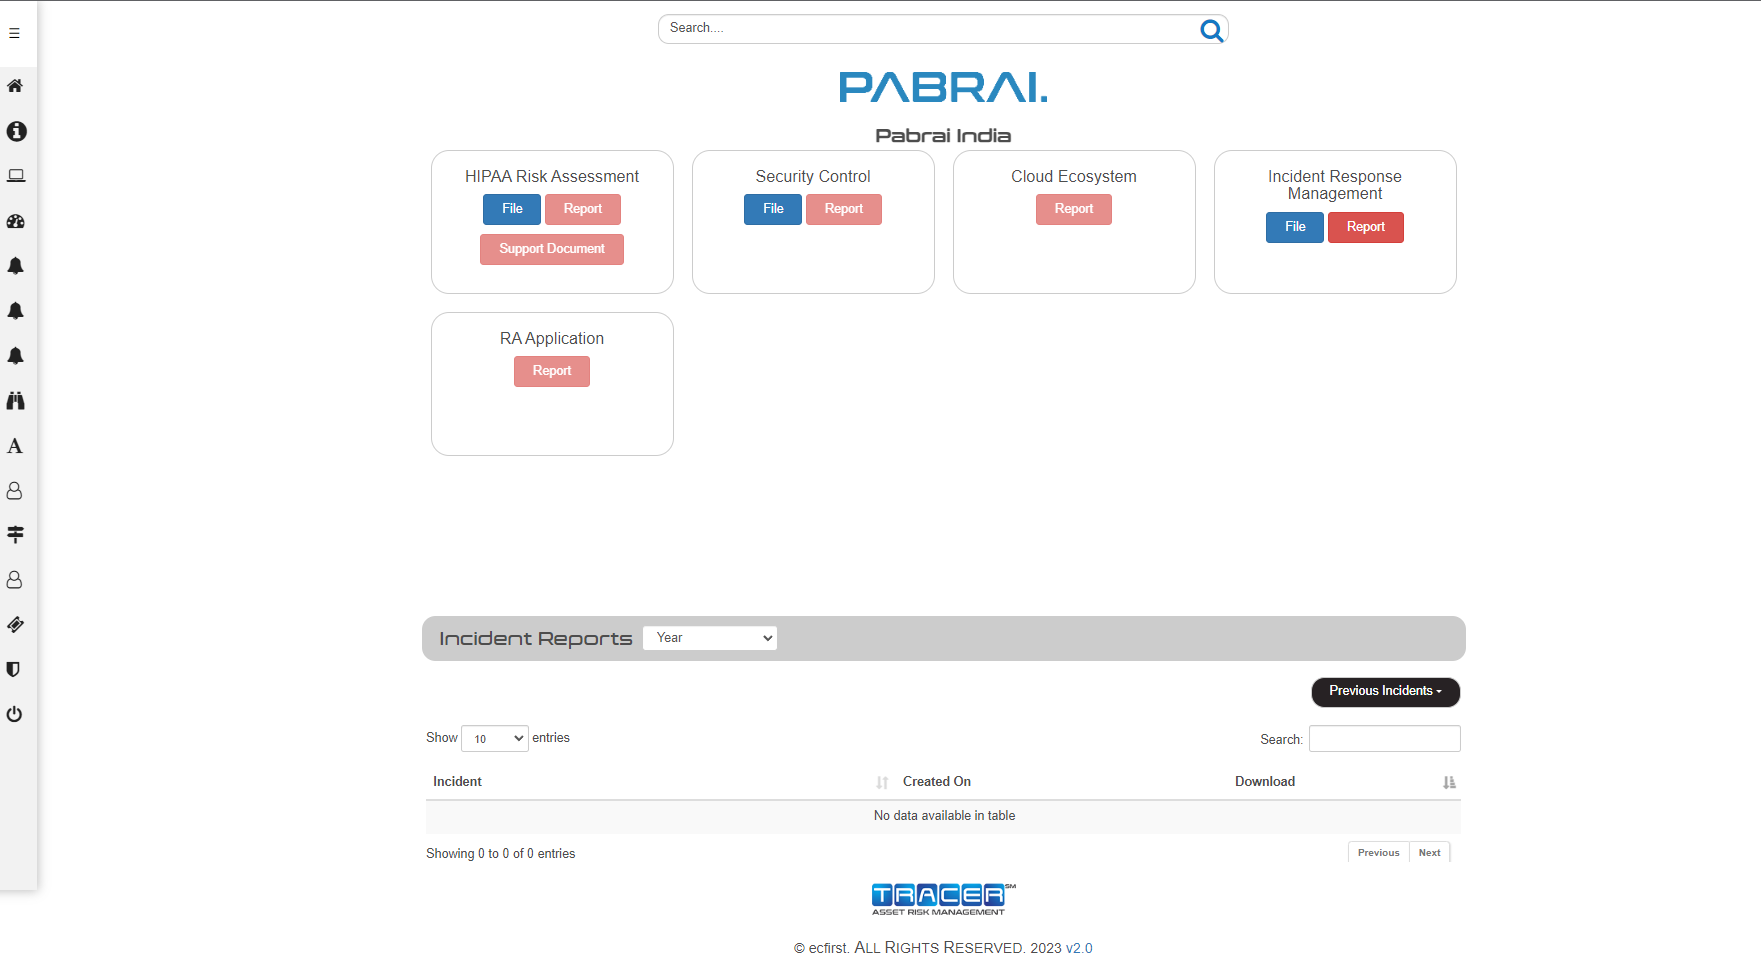
Incident, Breach & Ransomware Portal
Under Manage Clients in the admin end. The below popup will appear when we select the Edit button and then the DCF menu. Here, we choose the client and assign Incident Response Management to them.
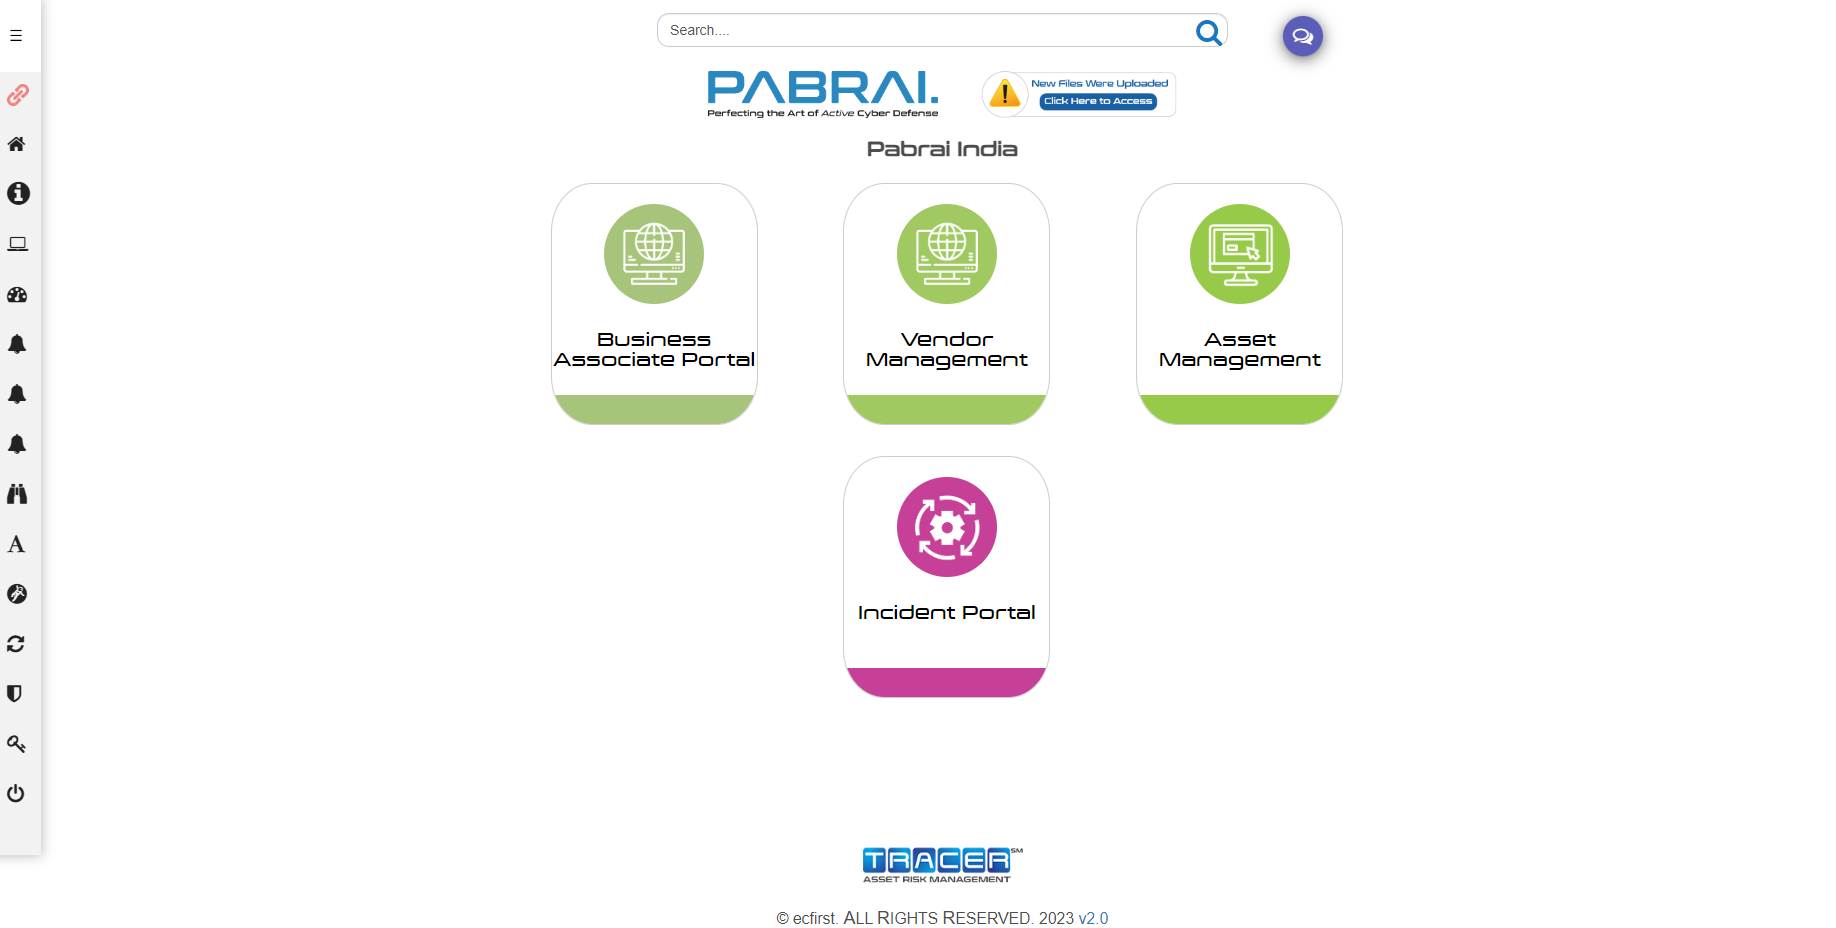
Home ⇒ Incident Portal
- Tracer Home Screen ⇒ Logging into Tracer as Client Click the Incident Portal Tile to Create Incidents (IRM Home Screen).
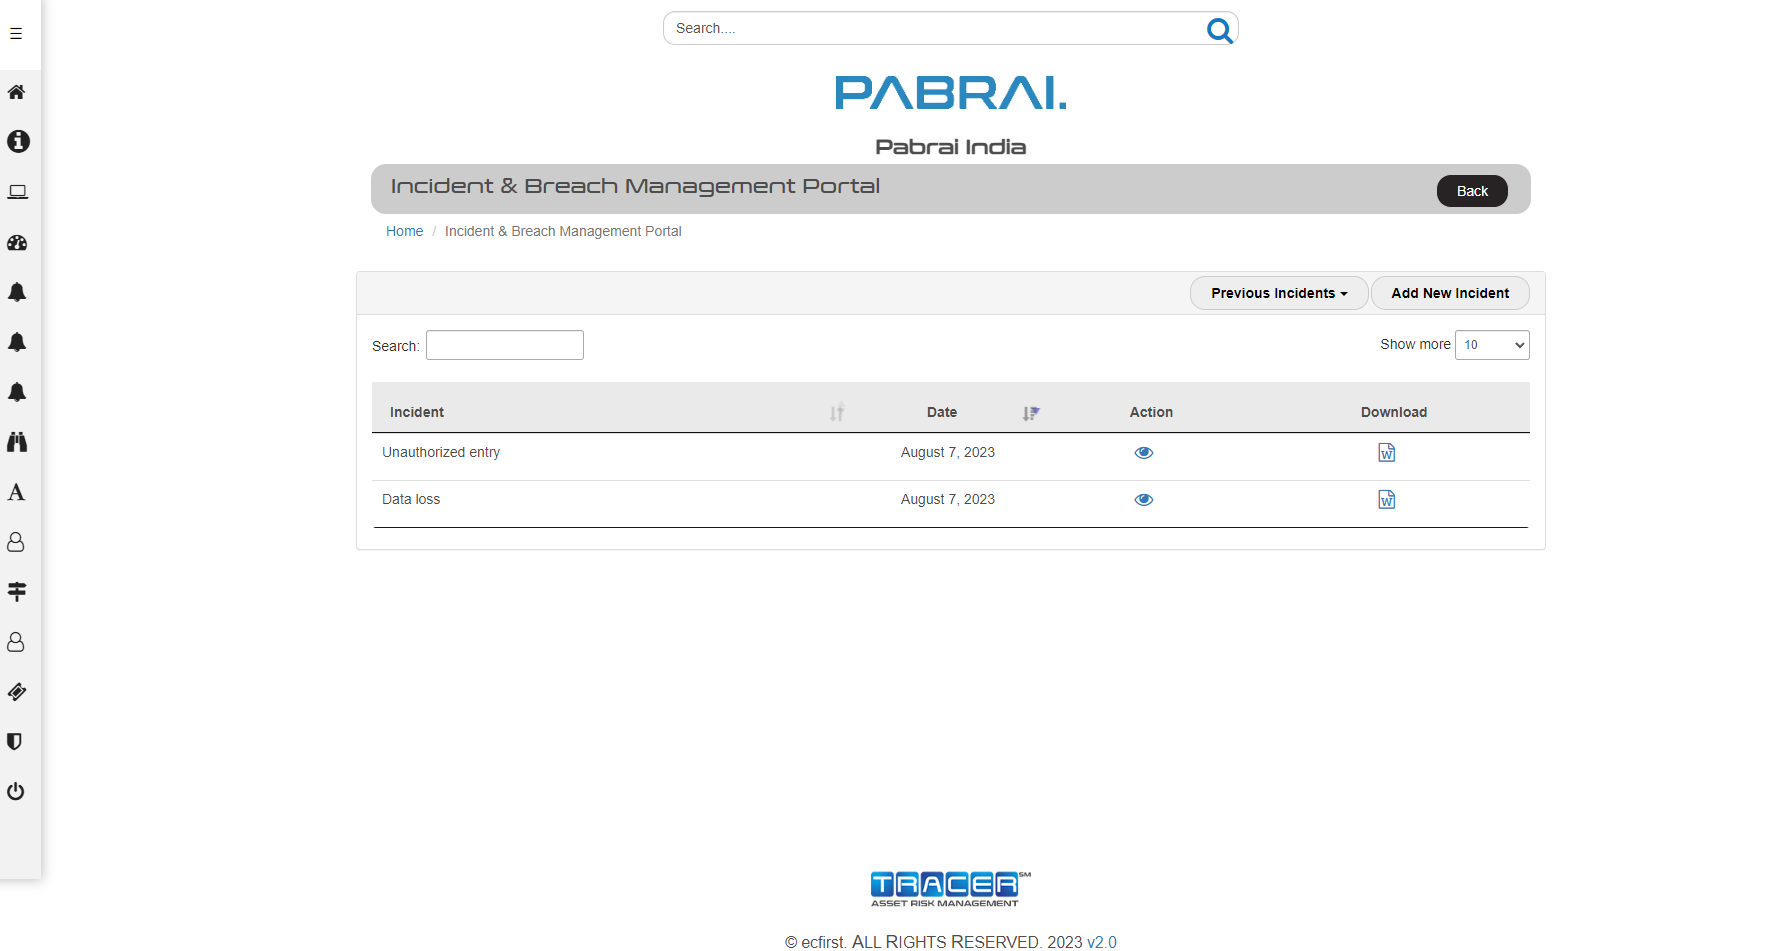
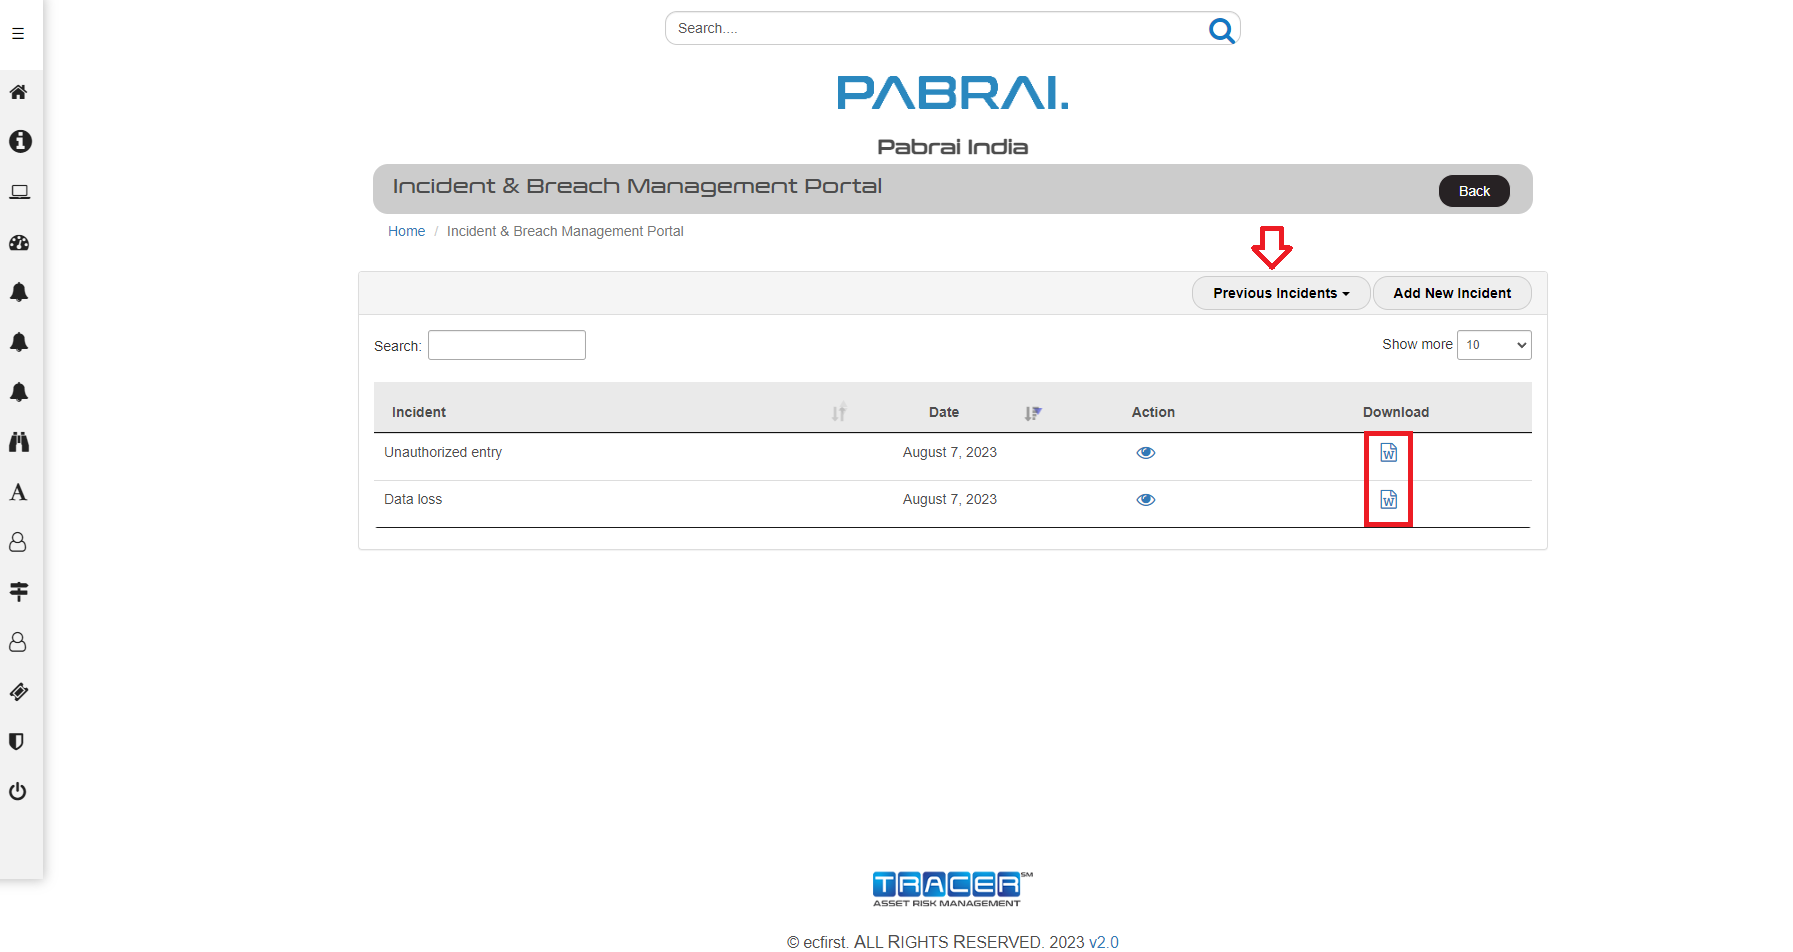
- Incident, Breach & Ransomware Portal (Home Screen) You'll see the Home Screen Incident Portal below. We can do the following steps.
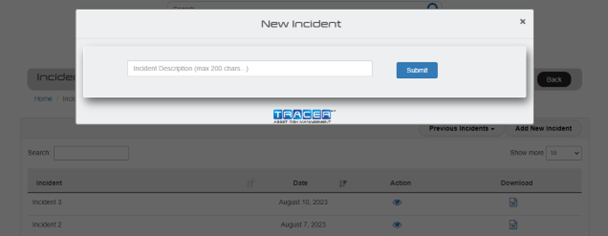
- Add New Incident (Create New Incidents)
- View (It will take us to DCF page)
- Download (Generate Particular Incident Report)
- Previous Incidents (Generate Summary Report of All Created Incidents)
- Add New Incident We can create multiple new incidents here
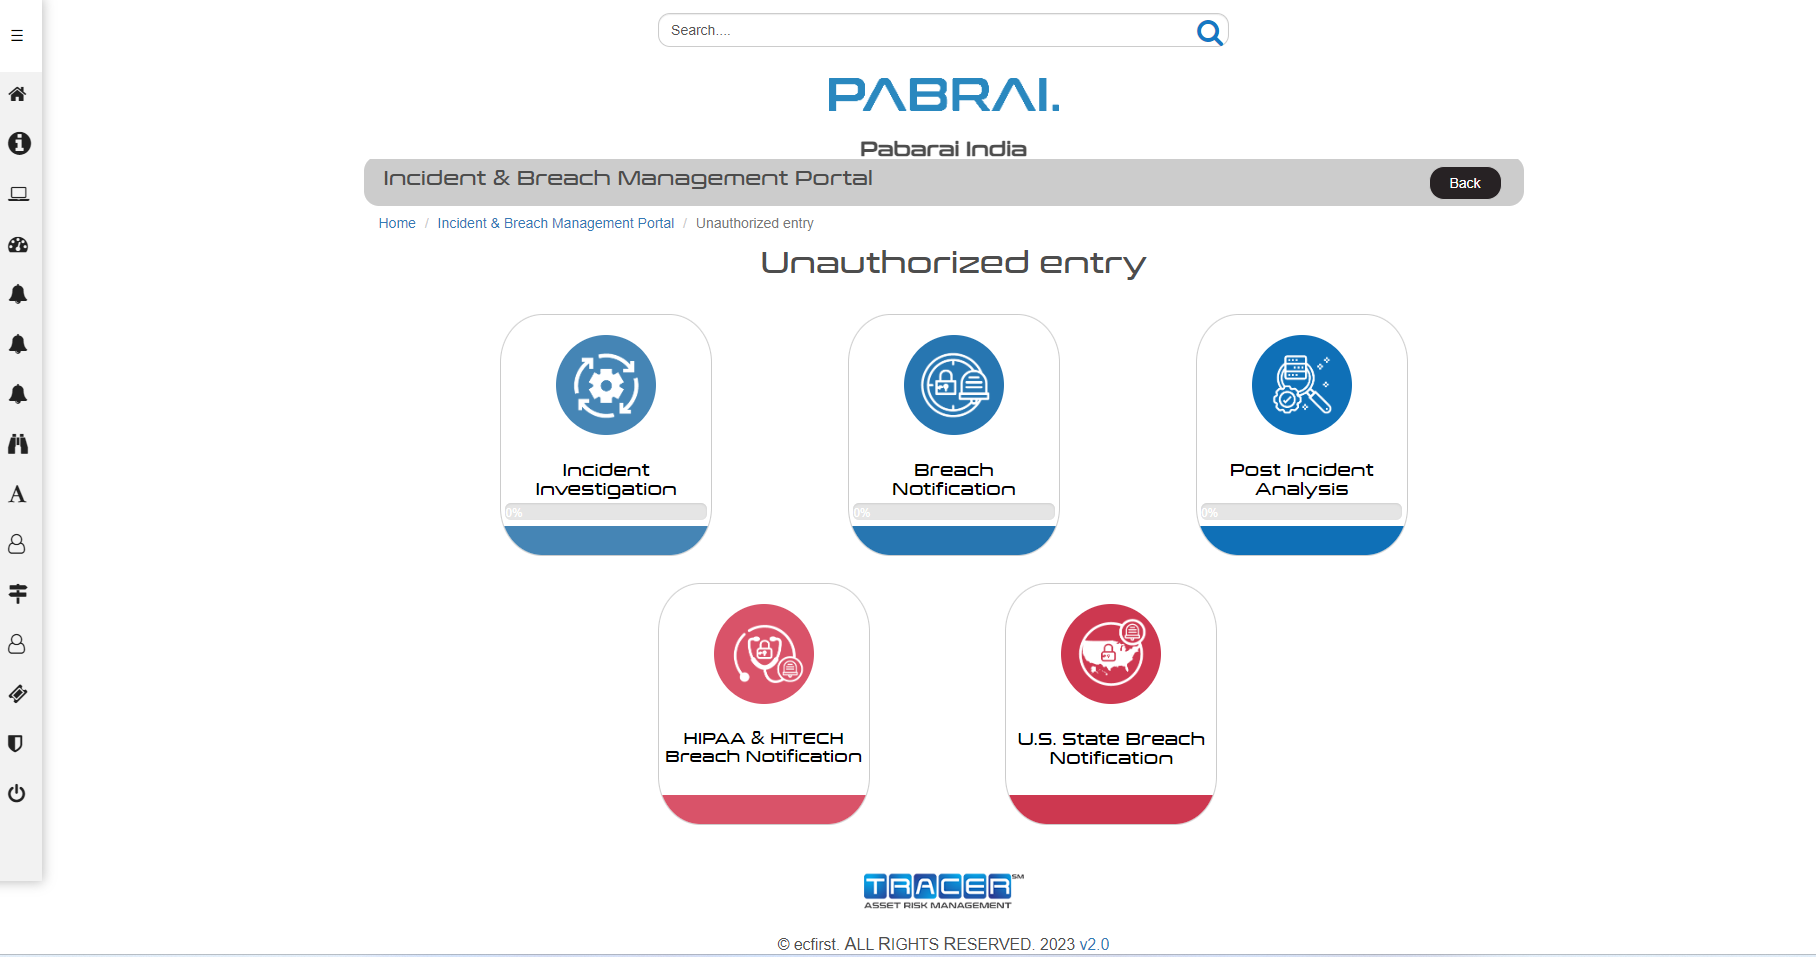
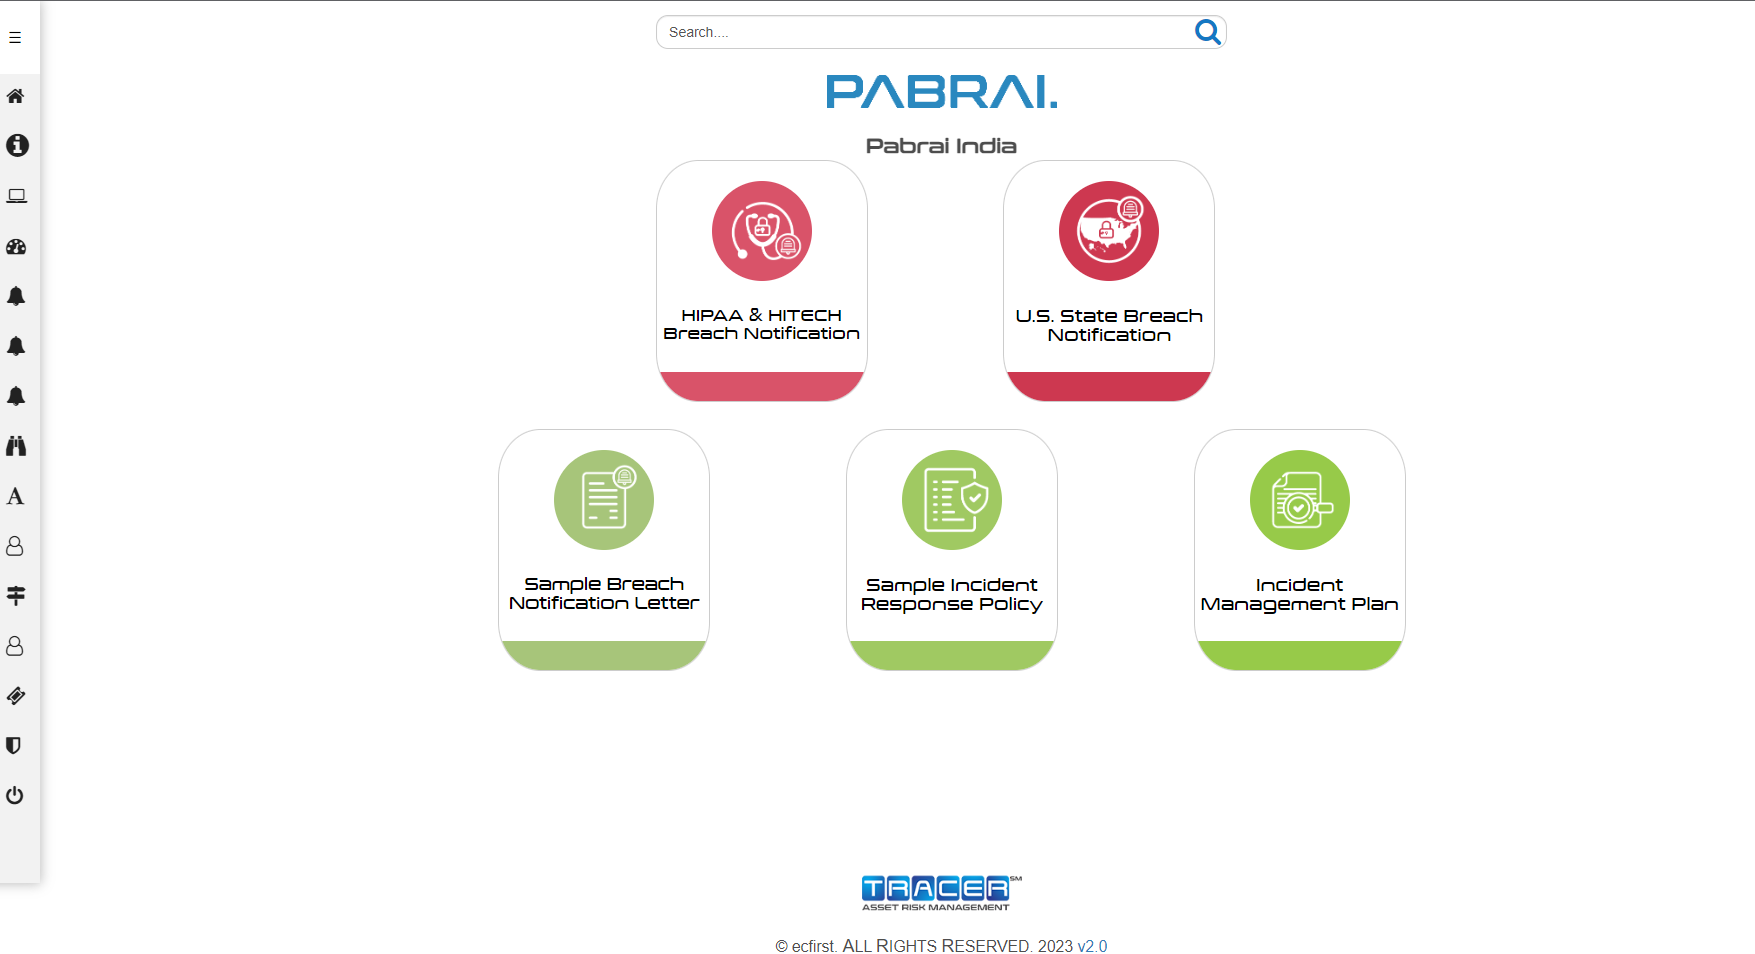
- Incident DCF When we click on the Created Incident View Icon, it will take us below screen.
- First row tiles are getting inputs from the Client (DCF)
- Second row Tiles are Sample Links
- Third row Tiles are having refence documents.
- Reports Once we fill all the necessary DCF inputs, we can generate the Reports in HOME page of IRM.
- Download (Generate Particular Incident Report)
- Previous Incidents (Generate Summary Report of All Created Incidents)
- Third row Tiles are having refence documents
- Dashboard We can generate the Reports in Dashboard page of IRM.
- Excel - Export DCF forms
- Word - Generate Particular Incident Report
- Previous Incidents (Generate Summary of All Created Incidents Report
- Files Download

Risk Assessment DCF
The Risk Assessment DCF includes sections for:
- Administrative Safeguards
- Physical Safeguards
- Technical Safeguards
- Privacy & Breach
- Data Center
- Group Health Plans
To complete the DCF, click on a button in the category you wish to work on. Be sure you go through each button in each category to complete your DCF. If you do not have the requested information or it does not apply, note that on the DCF.
To complete the DCF, click on a button in the category you wish to work on. Be sure you go through each button to complete your DCF. If you do not have the requested information or it does not apply, note that on the DCF.
Manage MFA
Click side bar, you will see the Manage MFA menu.
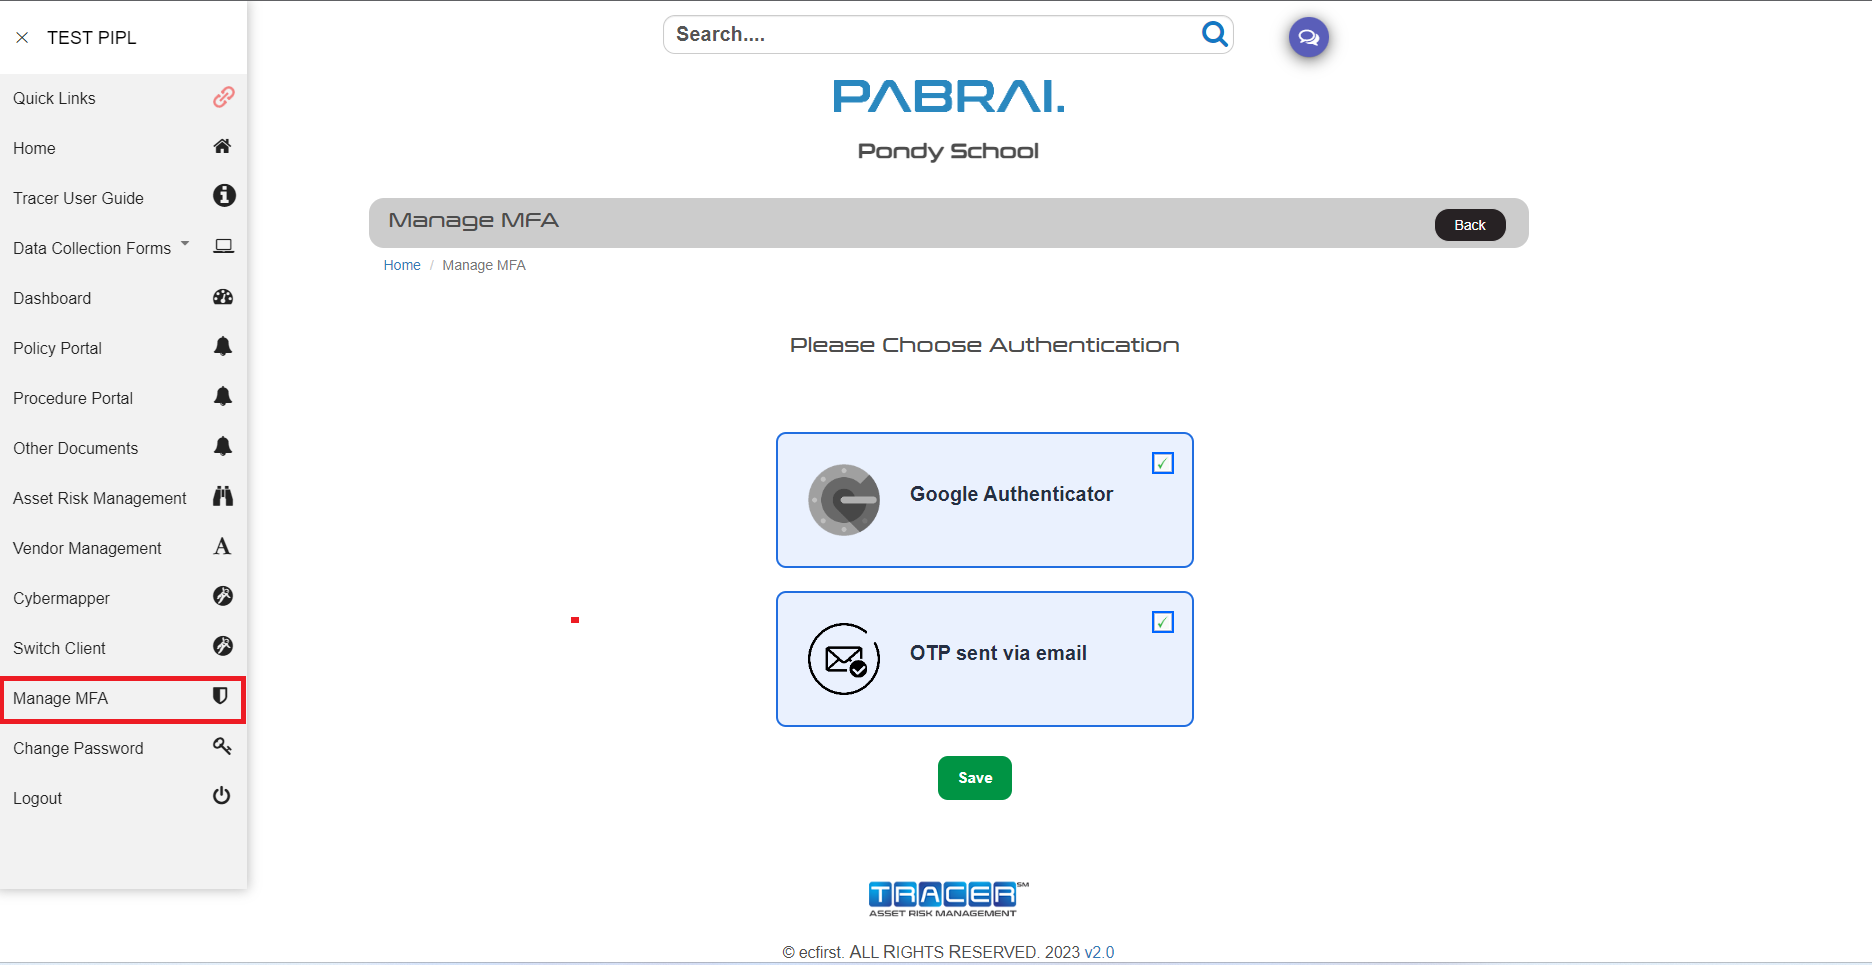
If you want to change MFA settings choose authentication type you want, then click save button.
Chat
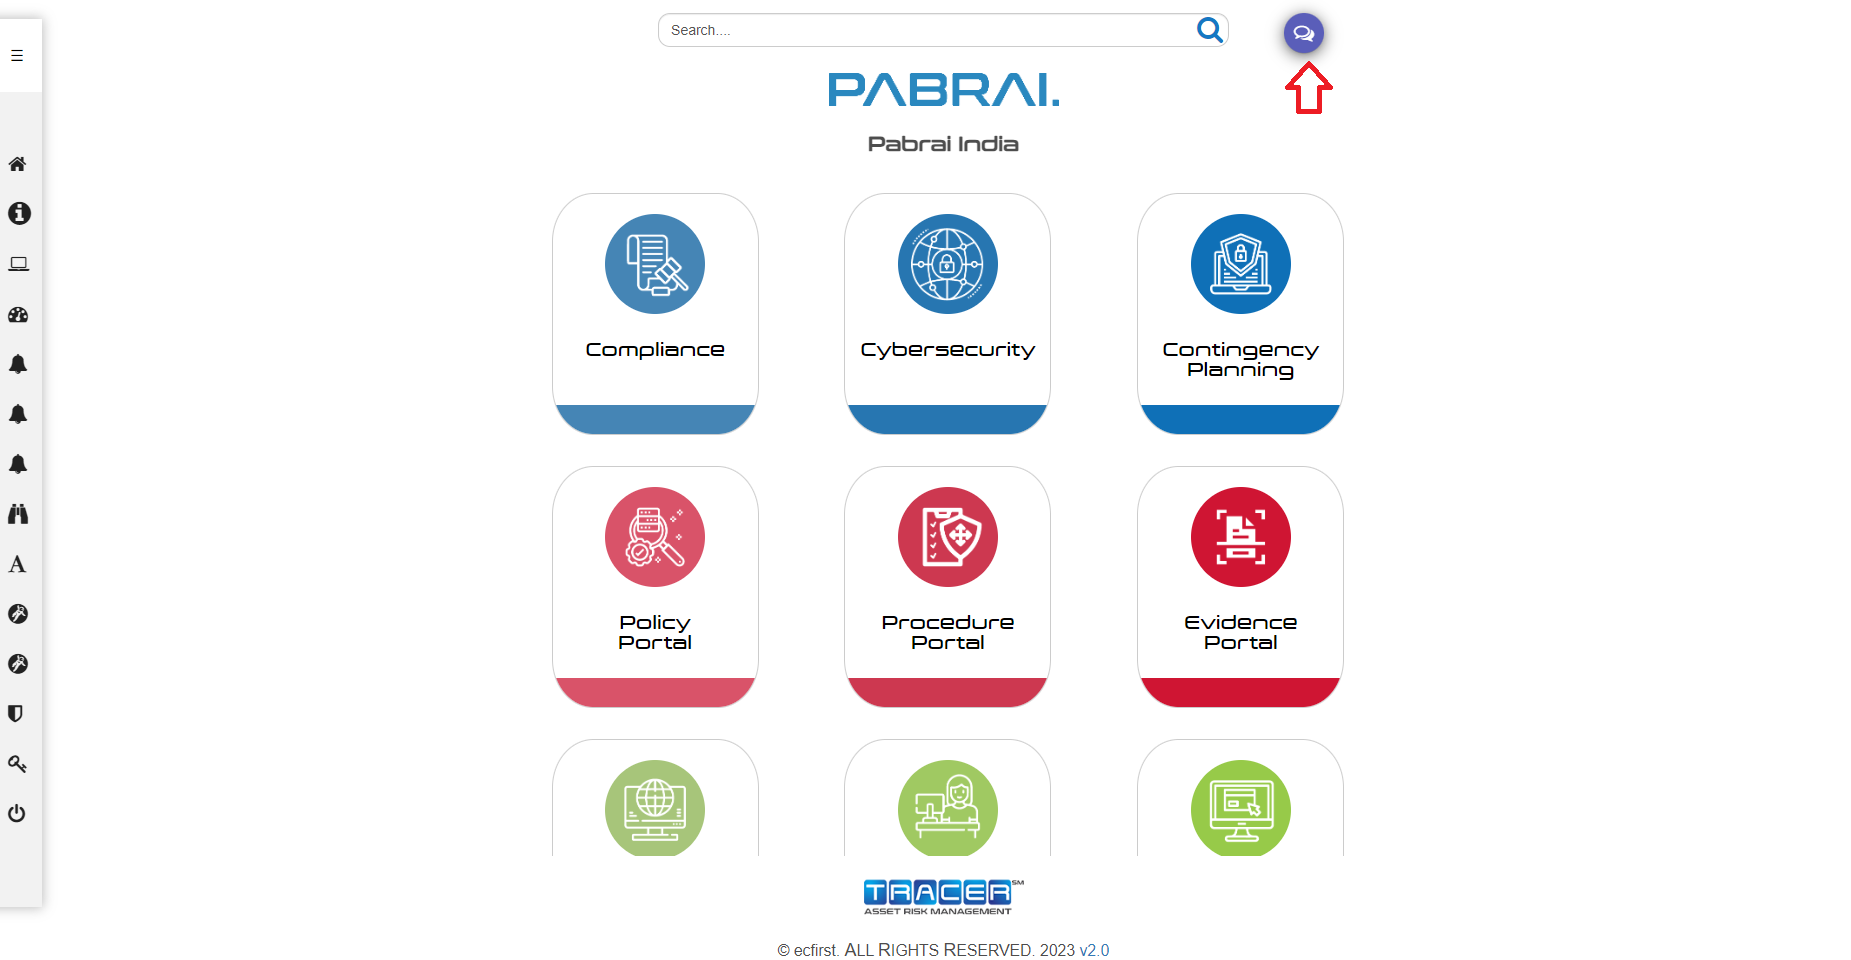
If you click the chat icon you will be redirected to the below picture page.
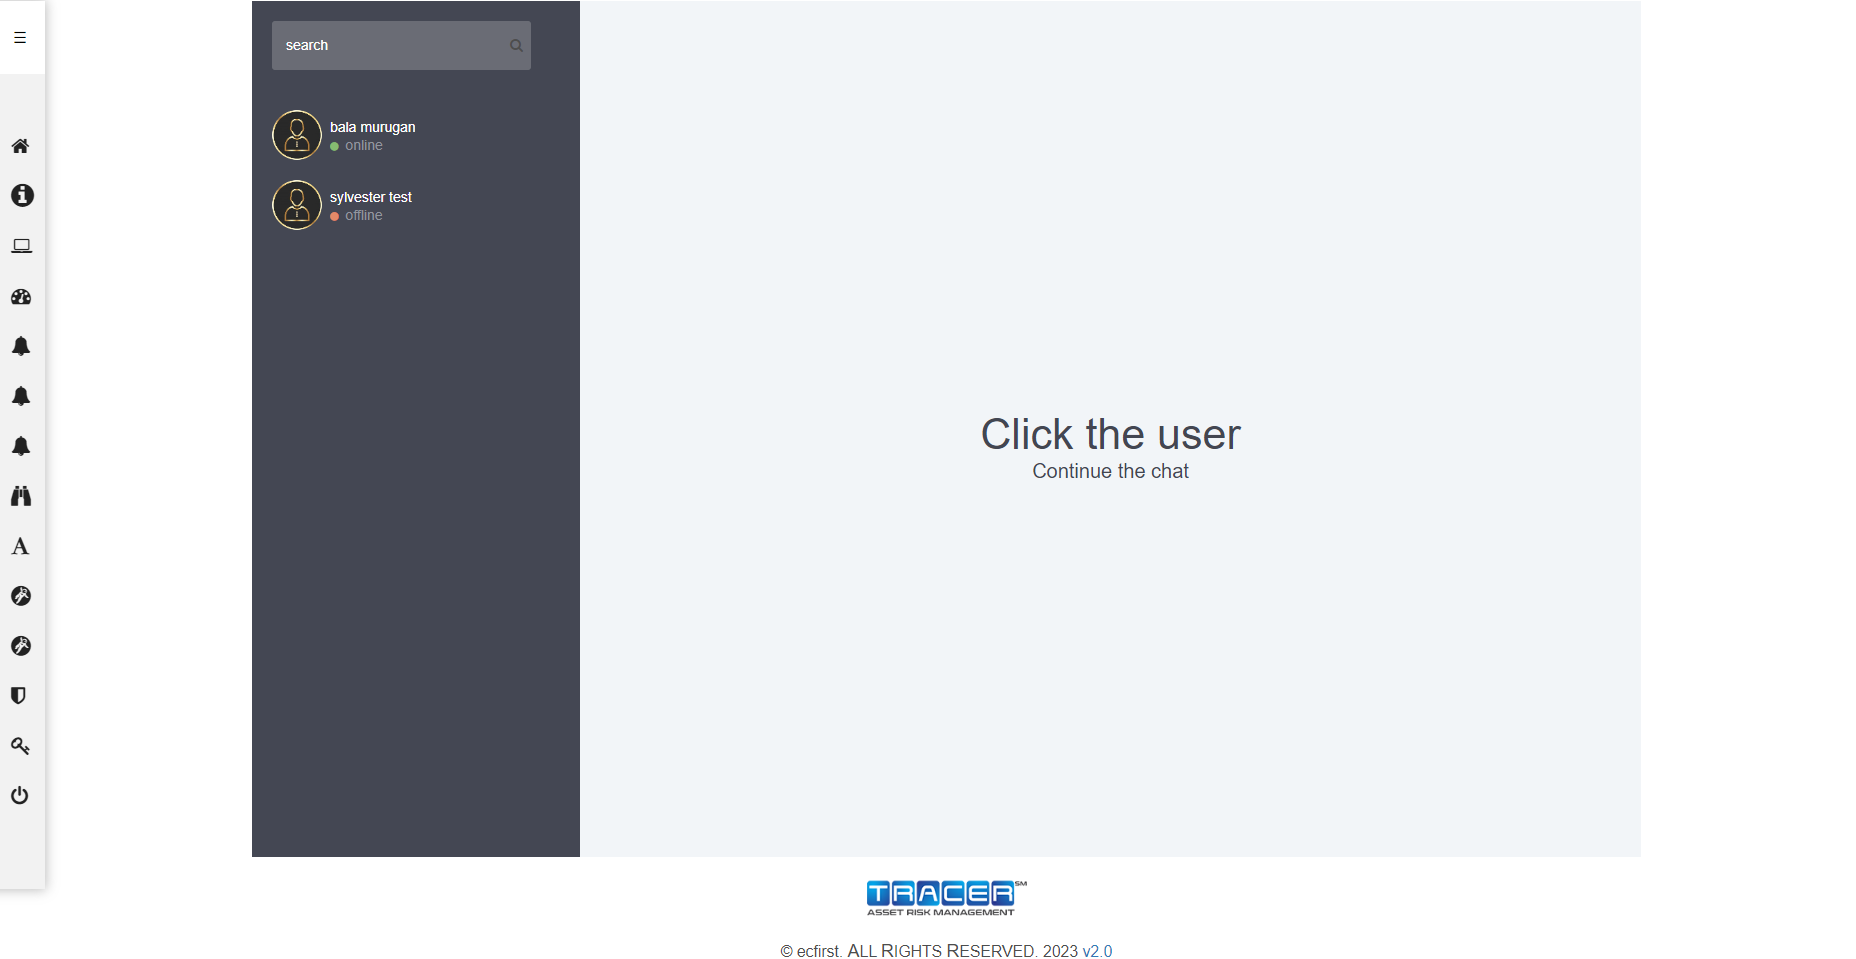
If you want to chat specific user, click that user you want, then you will see the below picture.
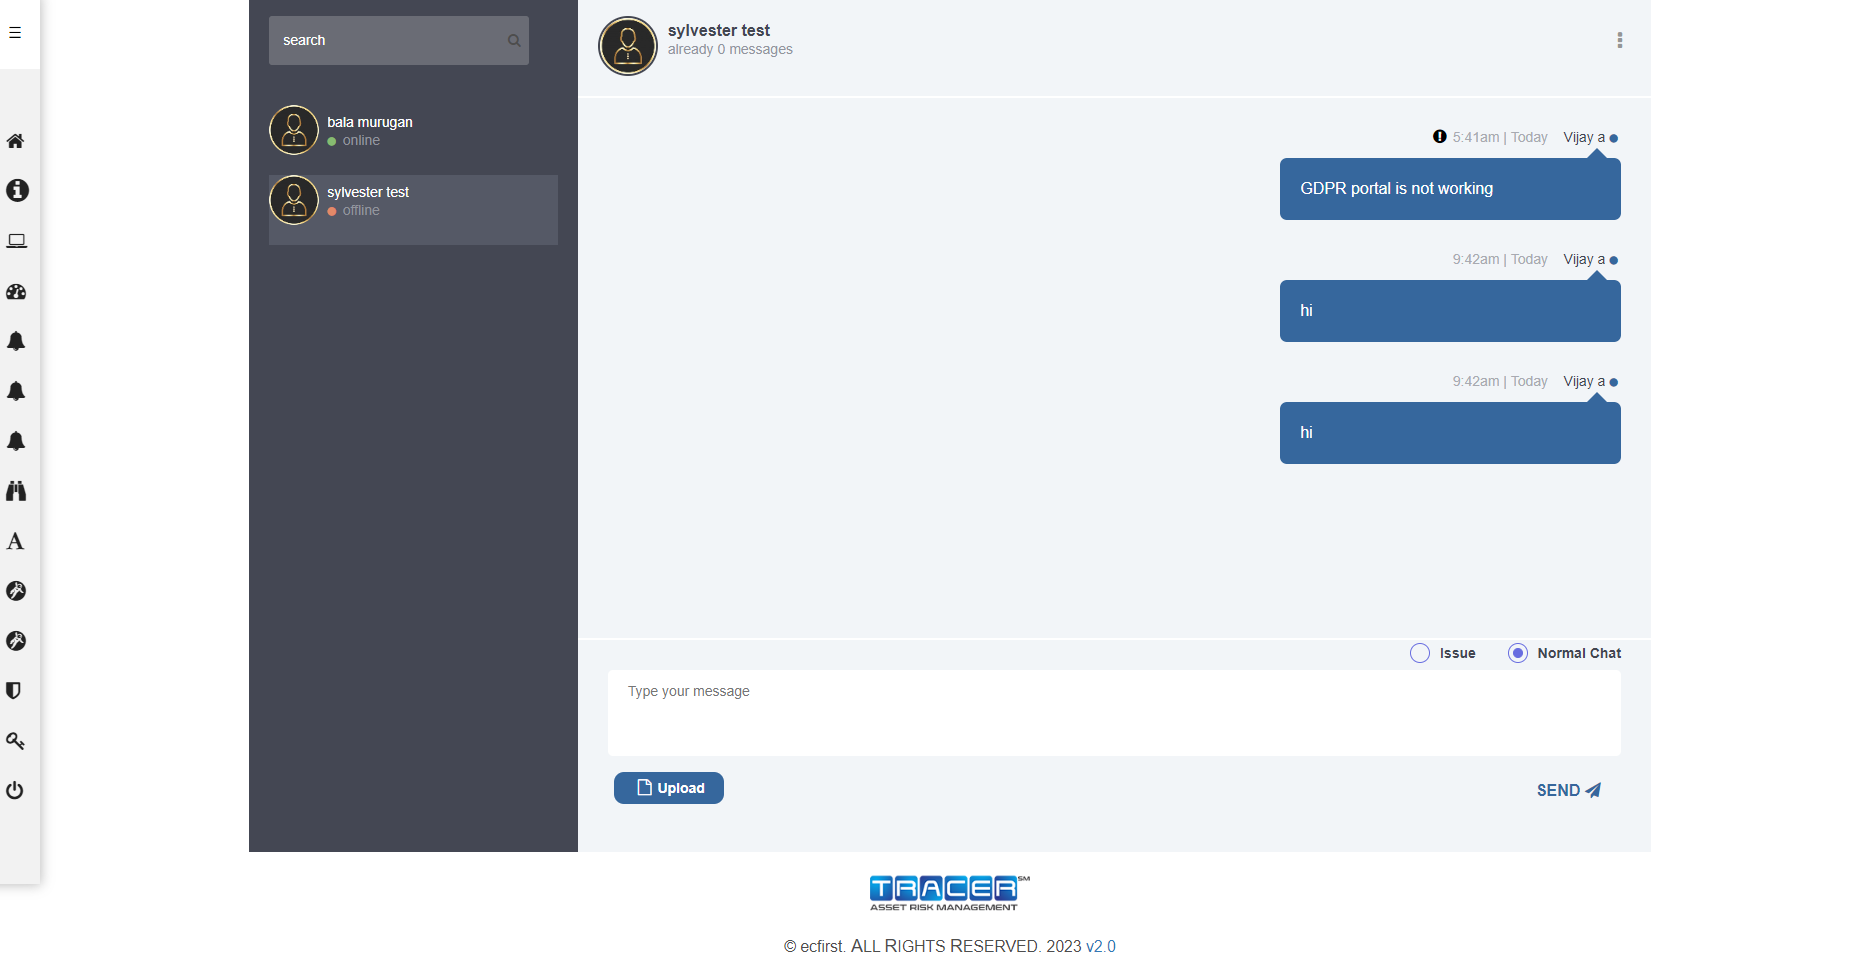
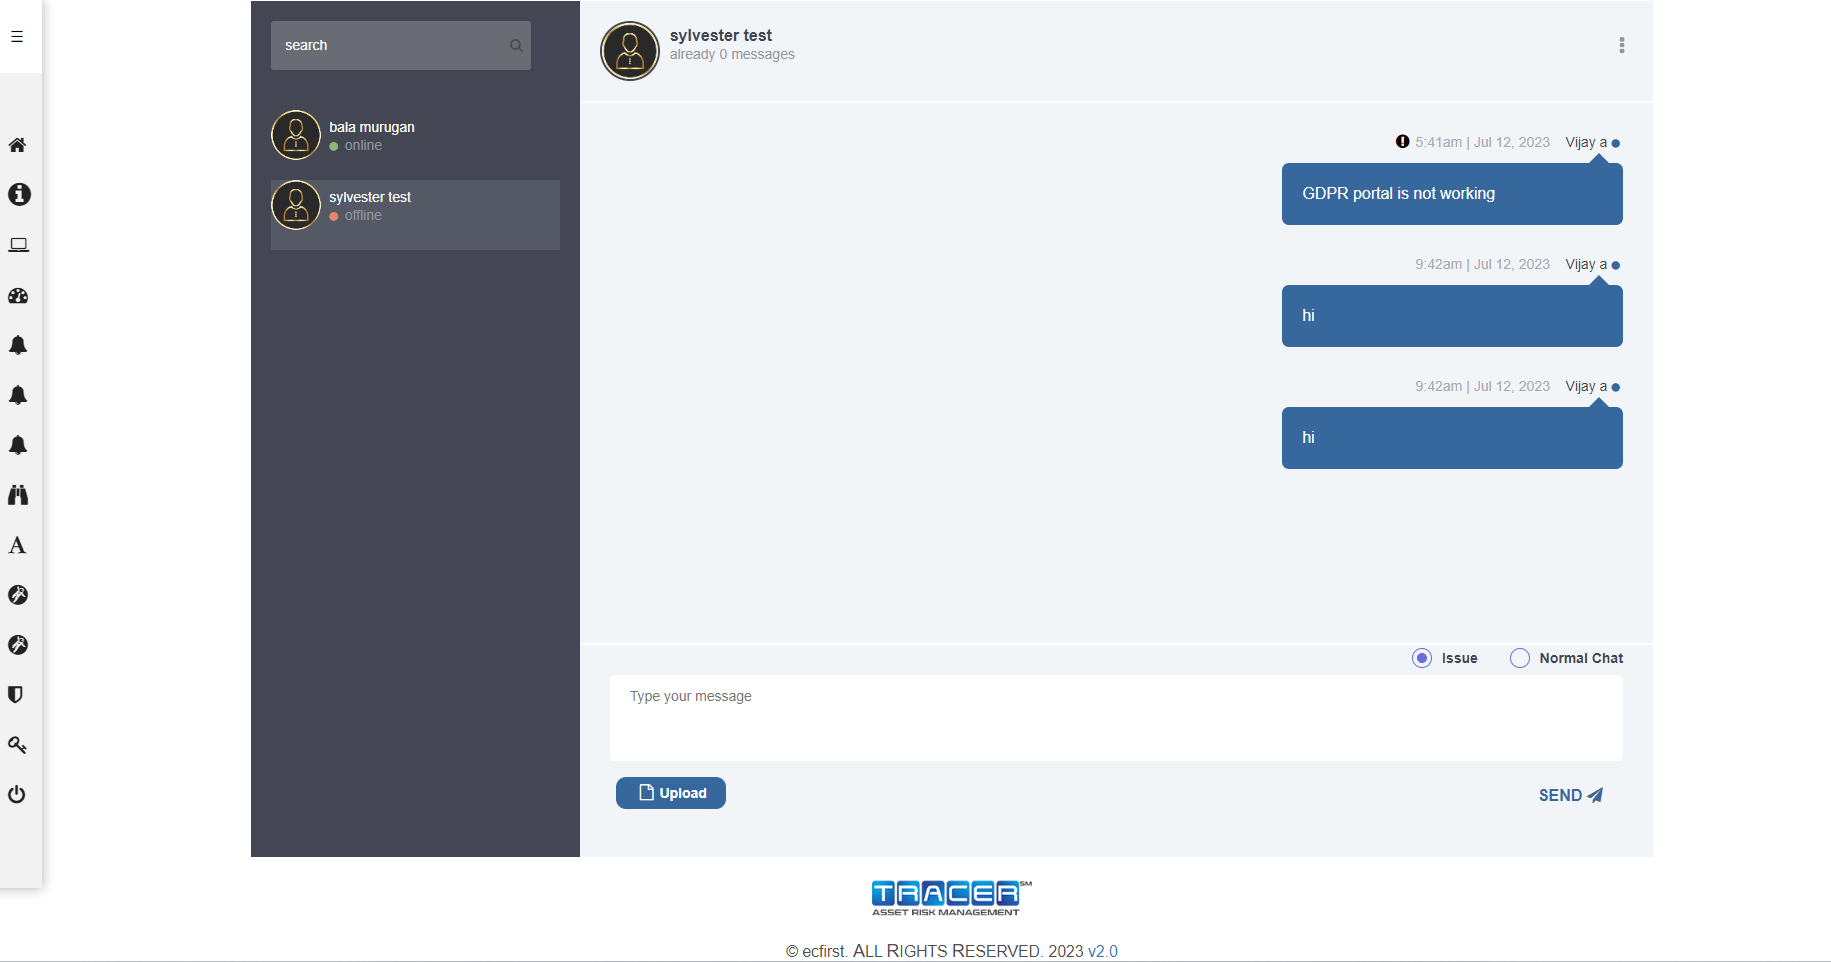
If you want to face any issues, please select issue radio box then type your message.
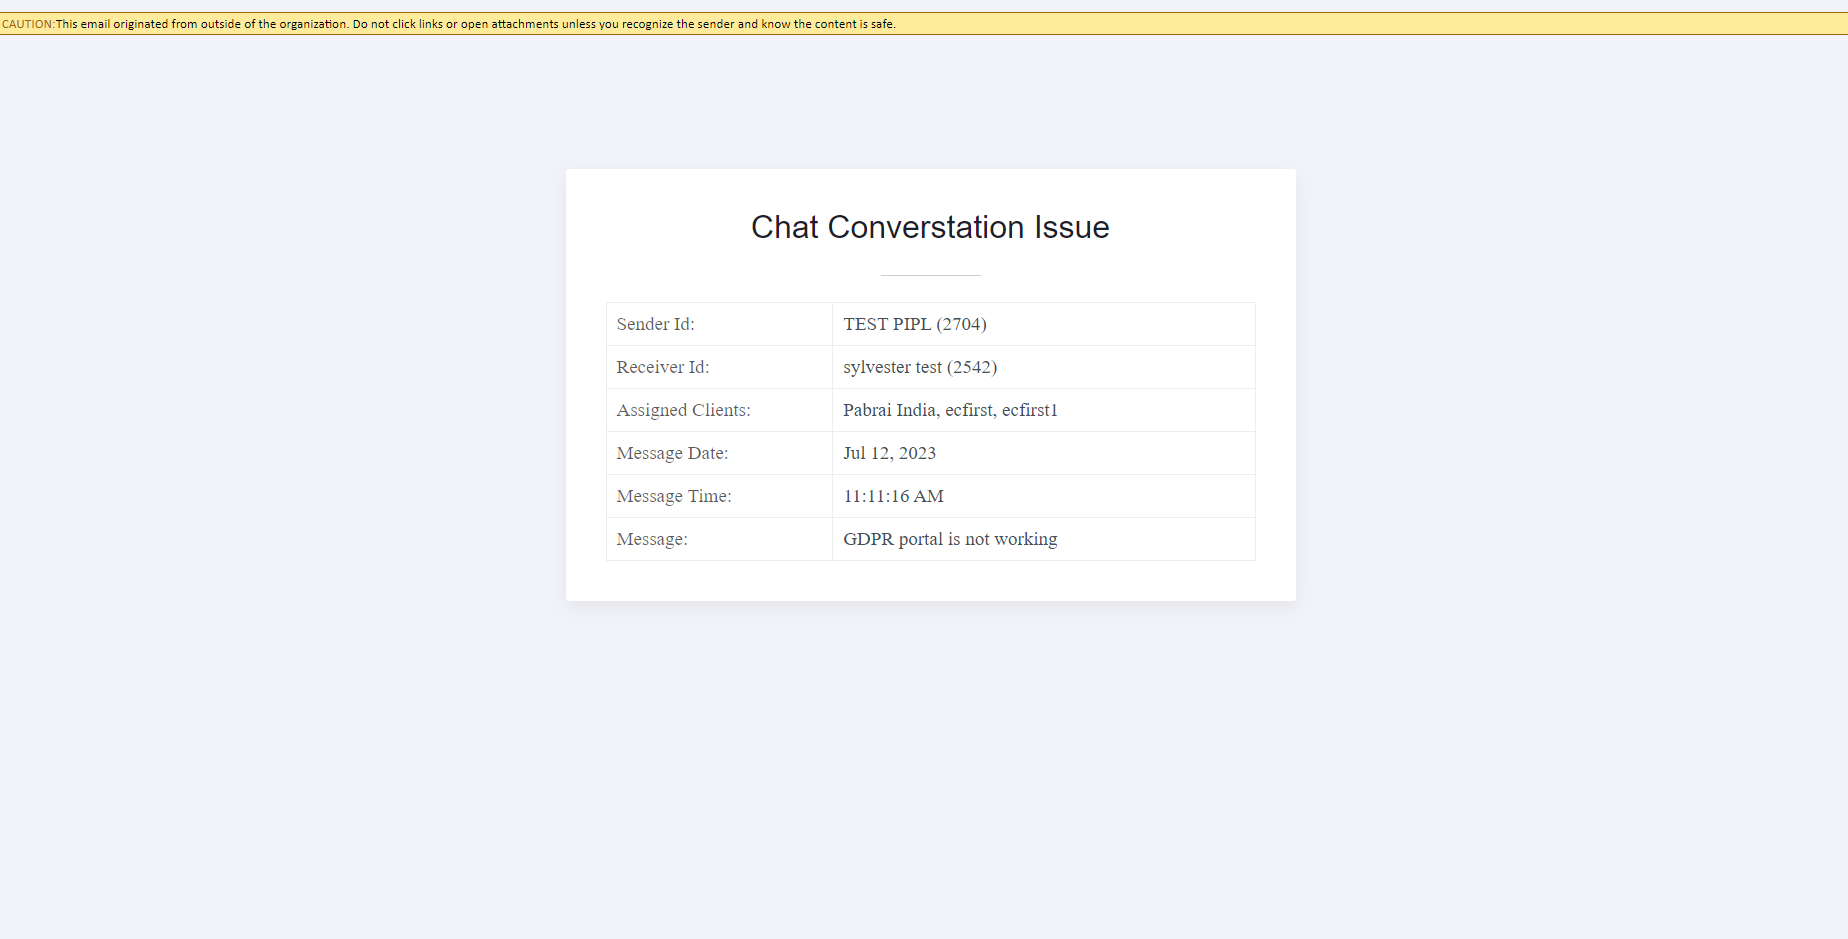
You will get this type of mail.
If you need any queries, please select normal chat radio box then type your message.

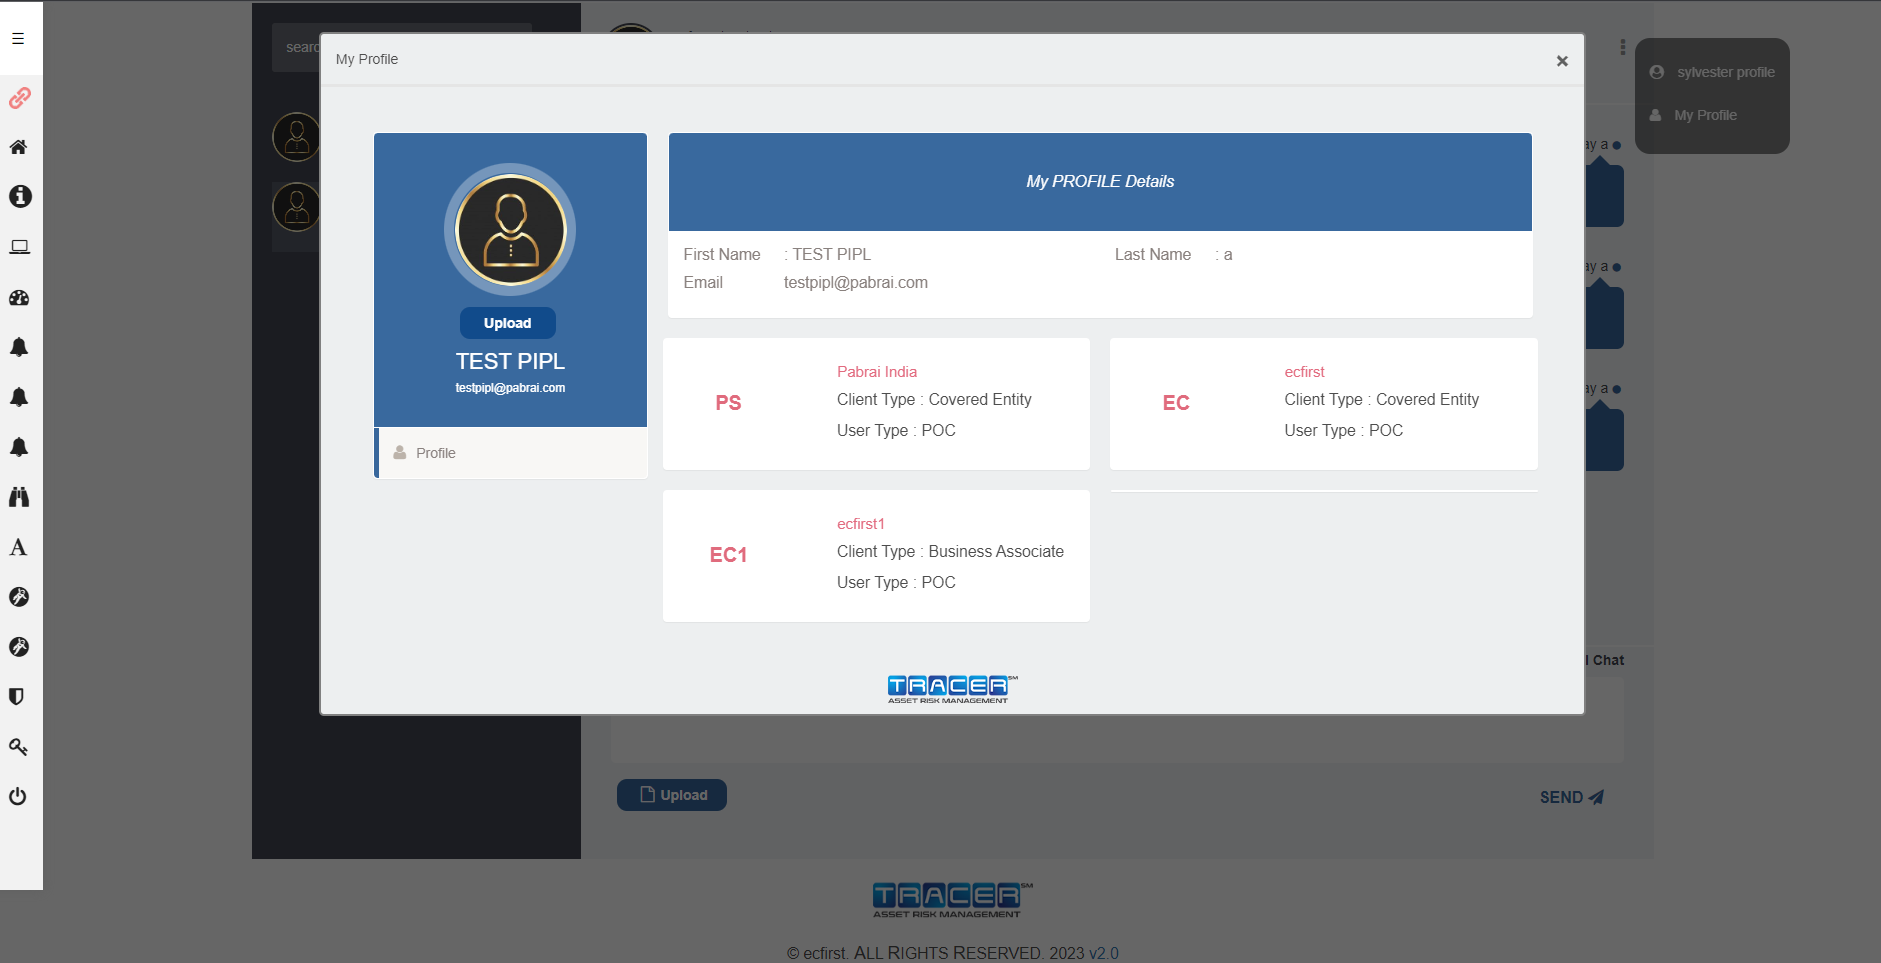
If you want to see other profile, click that specific user chat then you will see the three dots click three dots then you click that specific user profile.
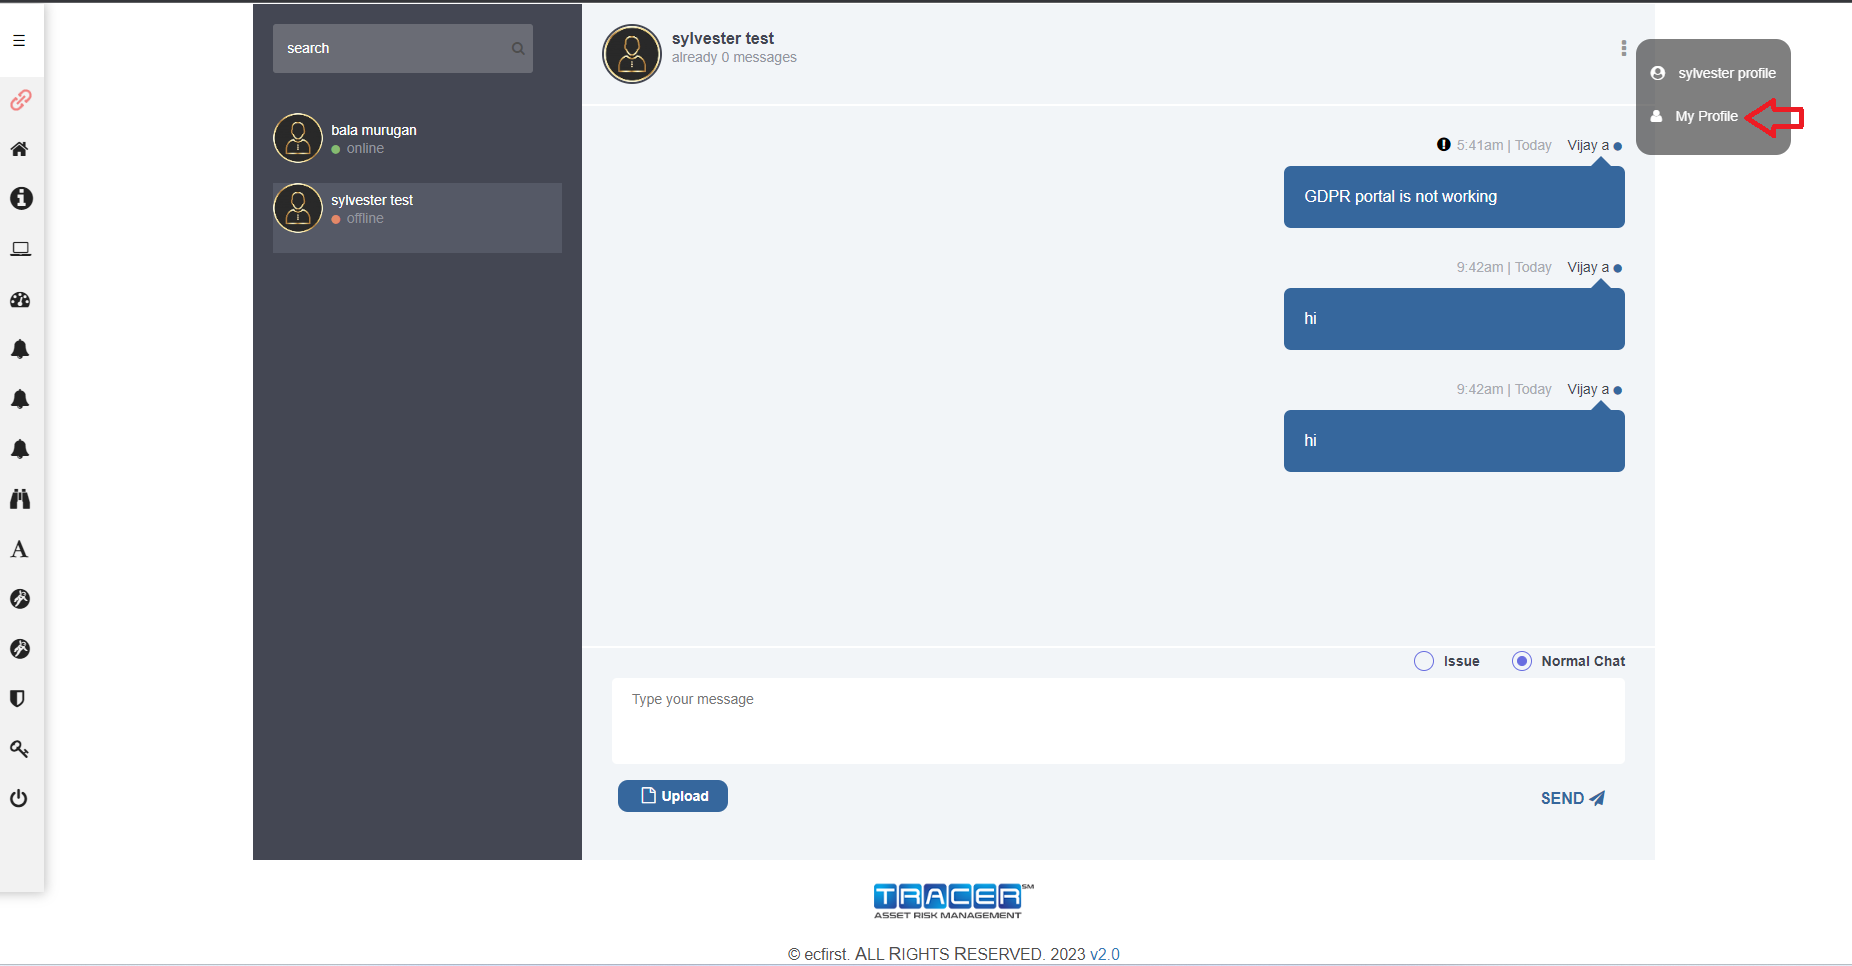
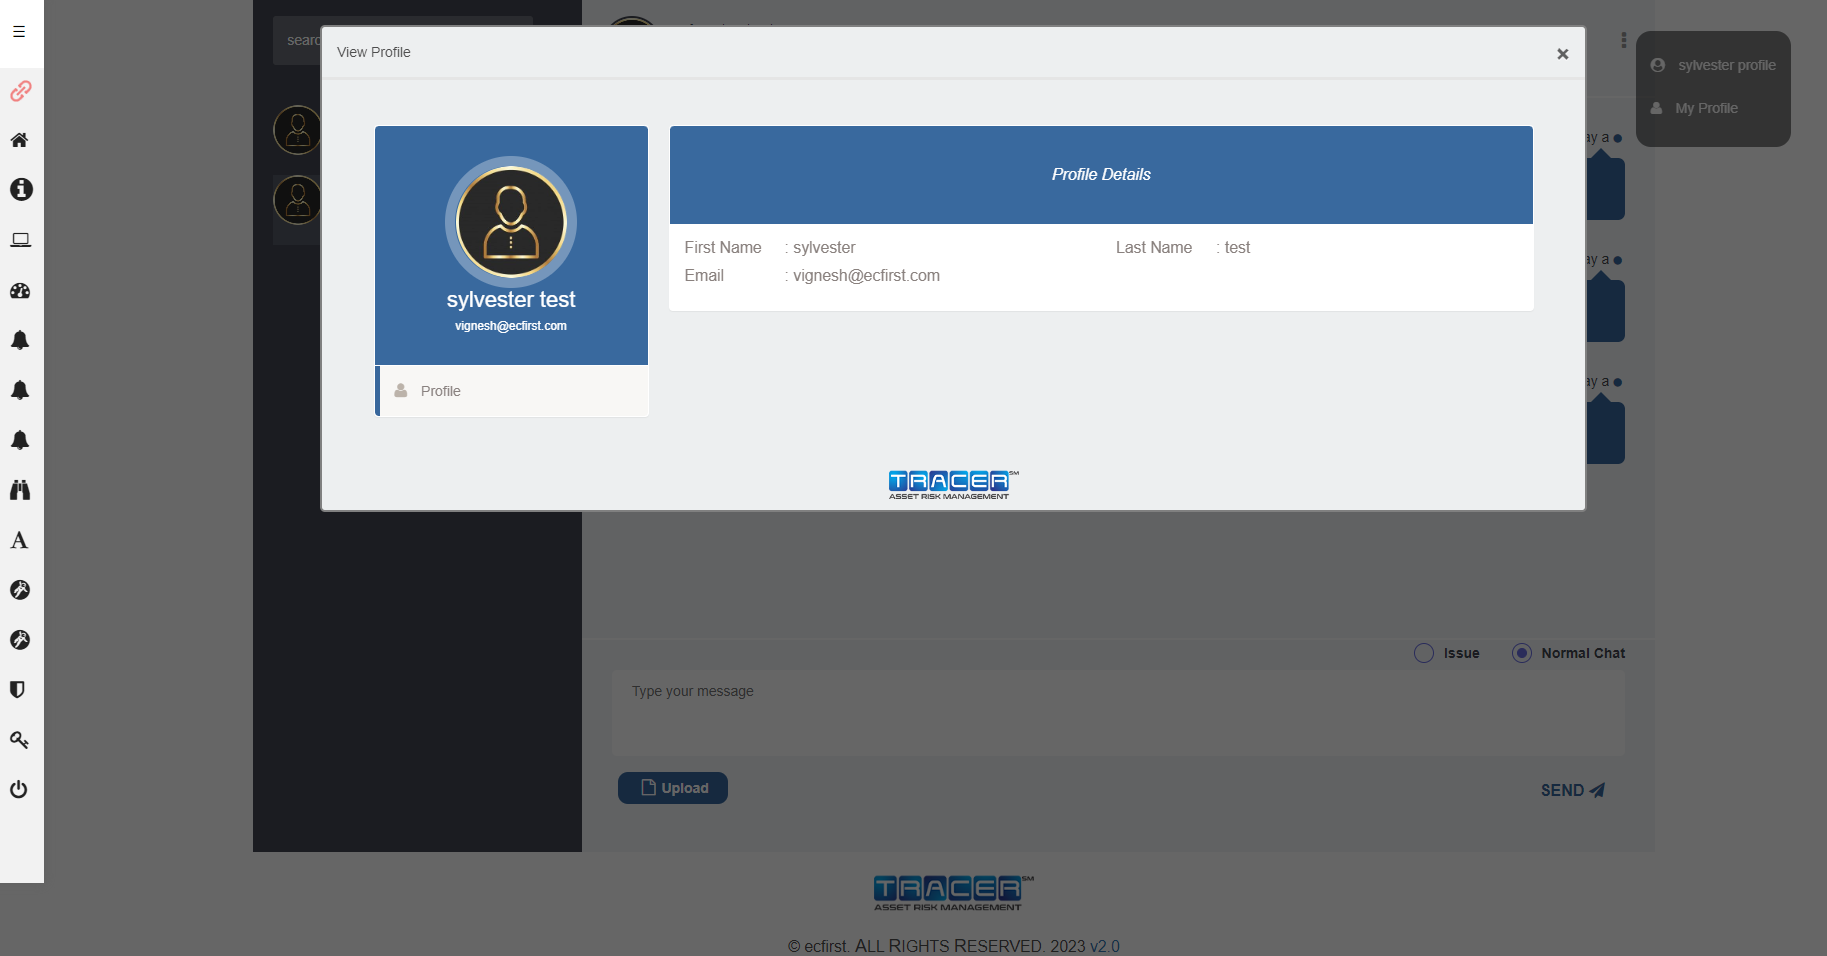
If you want to see your chat profile, click the three dots in chat box then select My Profile.